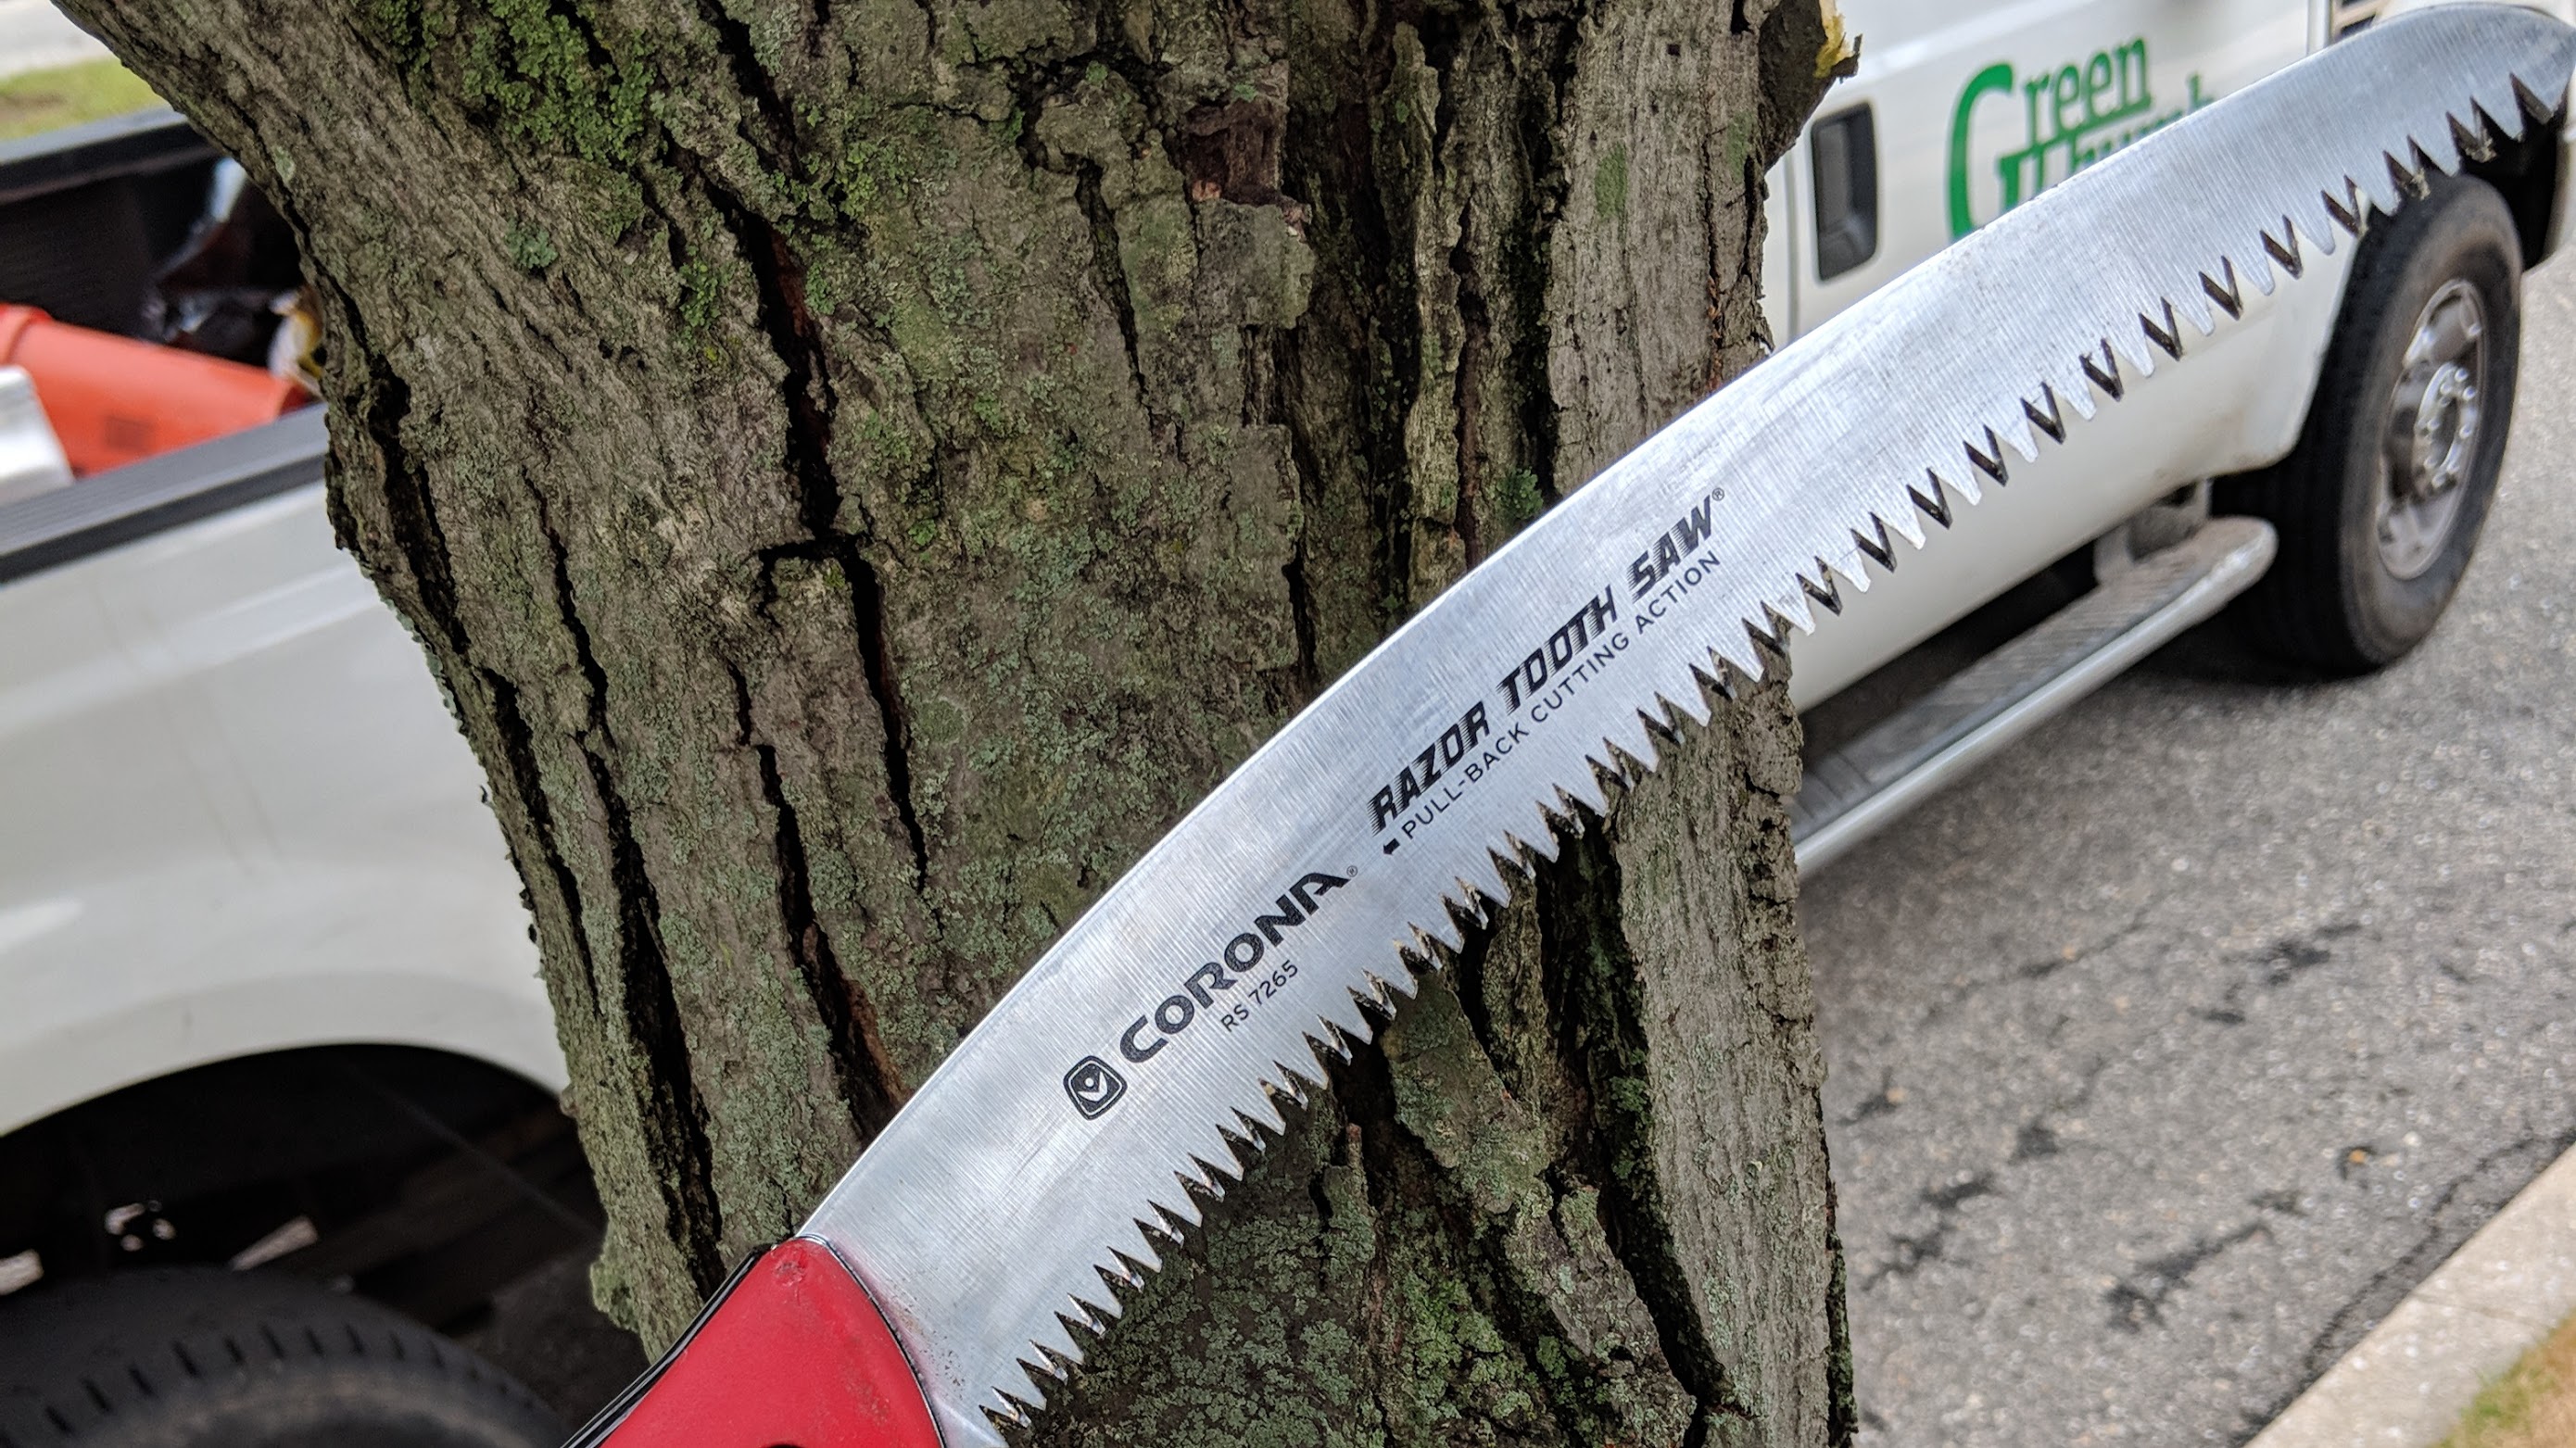
To some, pruning a tree limb seems easy, and almost silly that there is a right and wrong way to do it. However, I want to let you know that there is a right and wrong way, but the right way isn’t hard!
Most people when removing a limb with a pruning saw only make one cut. While this works sometimes, other times it can damage the tree by peeling back the protective bark layer as the tree falls. When the soft sappy layers underneath are exposed, the tree is more susceptible to insect damage and disease. In order to stop this from happening, you should make three cuts when removing branches larger than 2″ in diameter with a pruning saw.
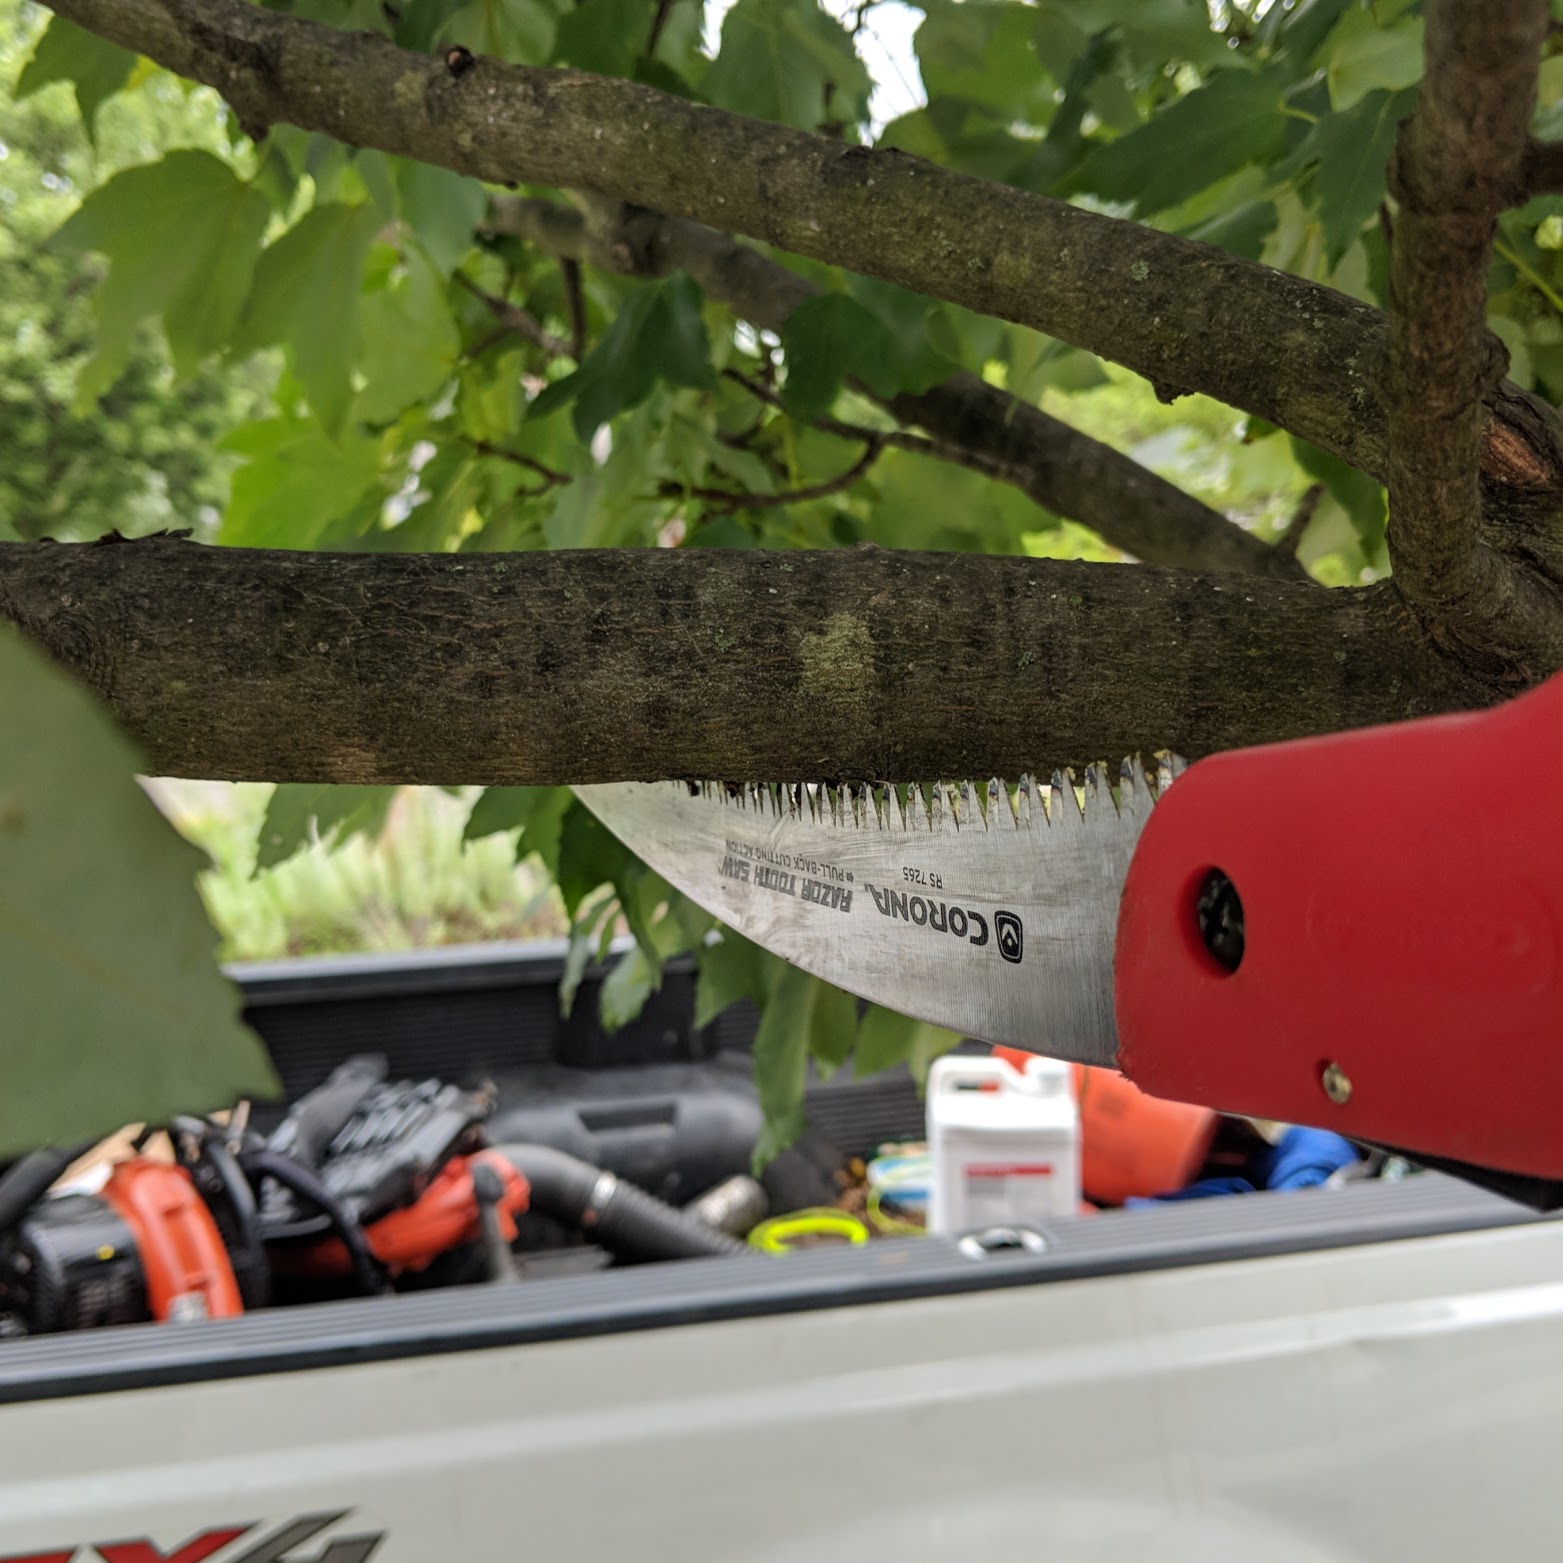
Cut 1: An undercut
Make this cut about 4-6 inches away from the trunk of the tree or larger branch that you are working with. The undercut should be about 1/3 of the way through the branch. This cut will prevent bark from peeling off of the tree.
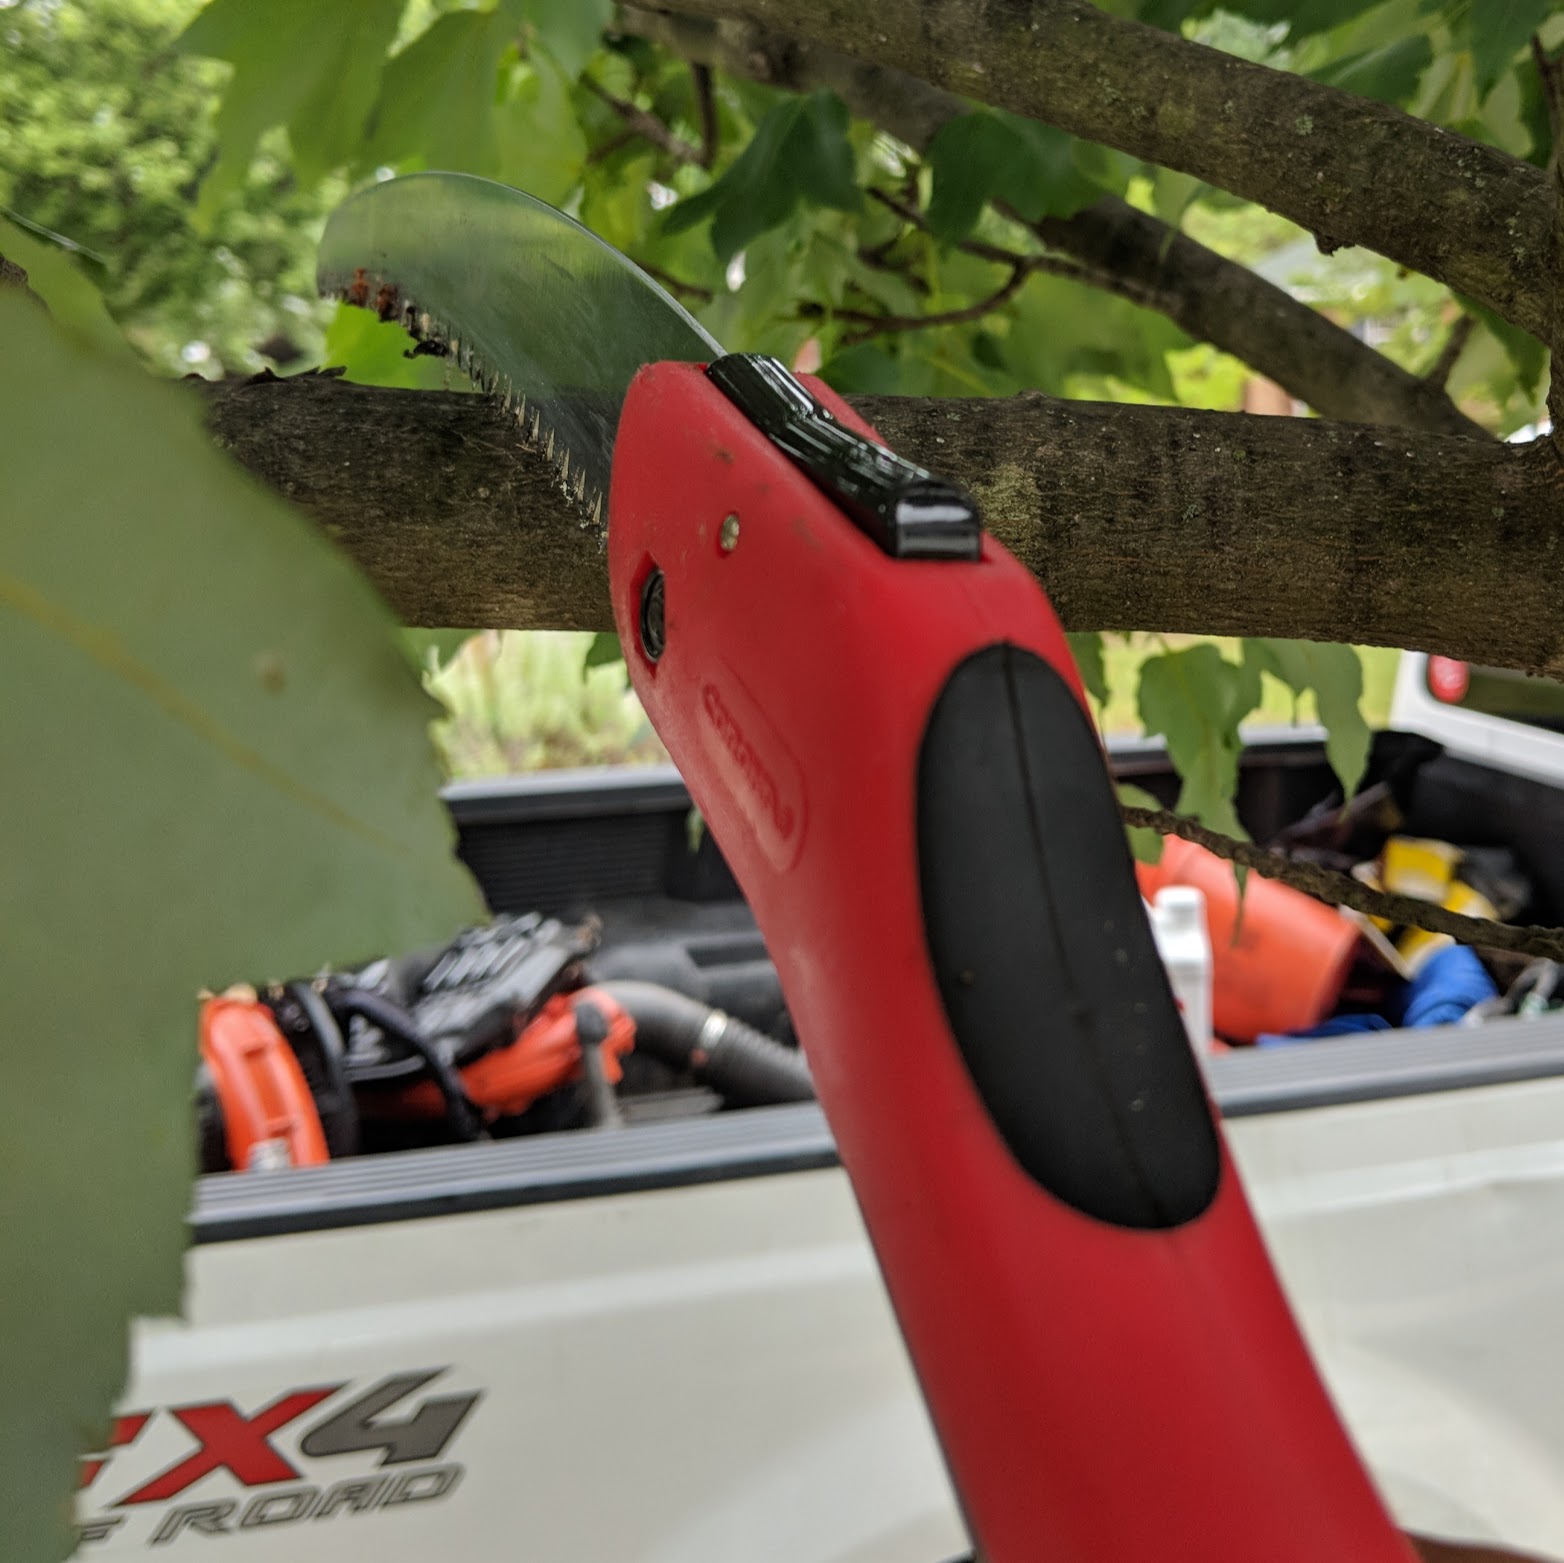
Cut 2: Overcut
After making the undercut, move your saw further down the limb about 2-4 inches. Here, saw completely through the limb as you normally would. A nub about 6-8 inches will be left on the plant that you are working with.
Cut 3: Finishing Cut
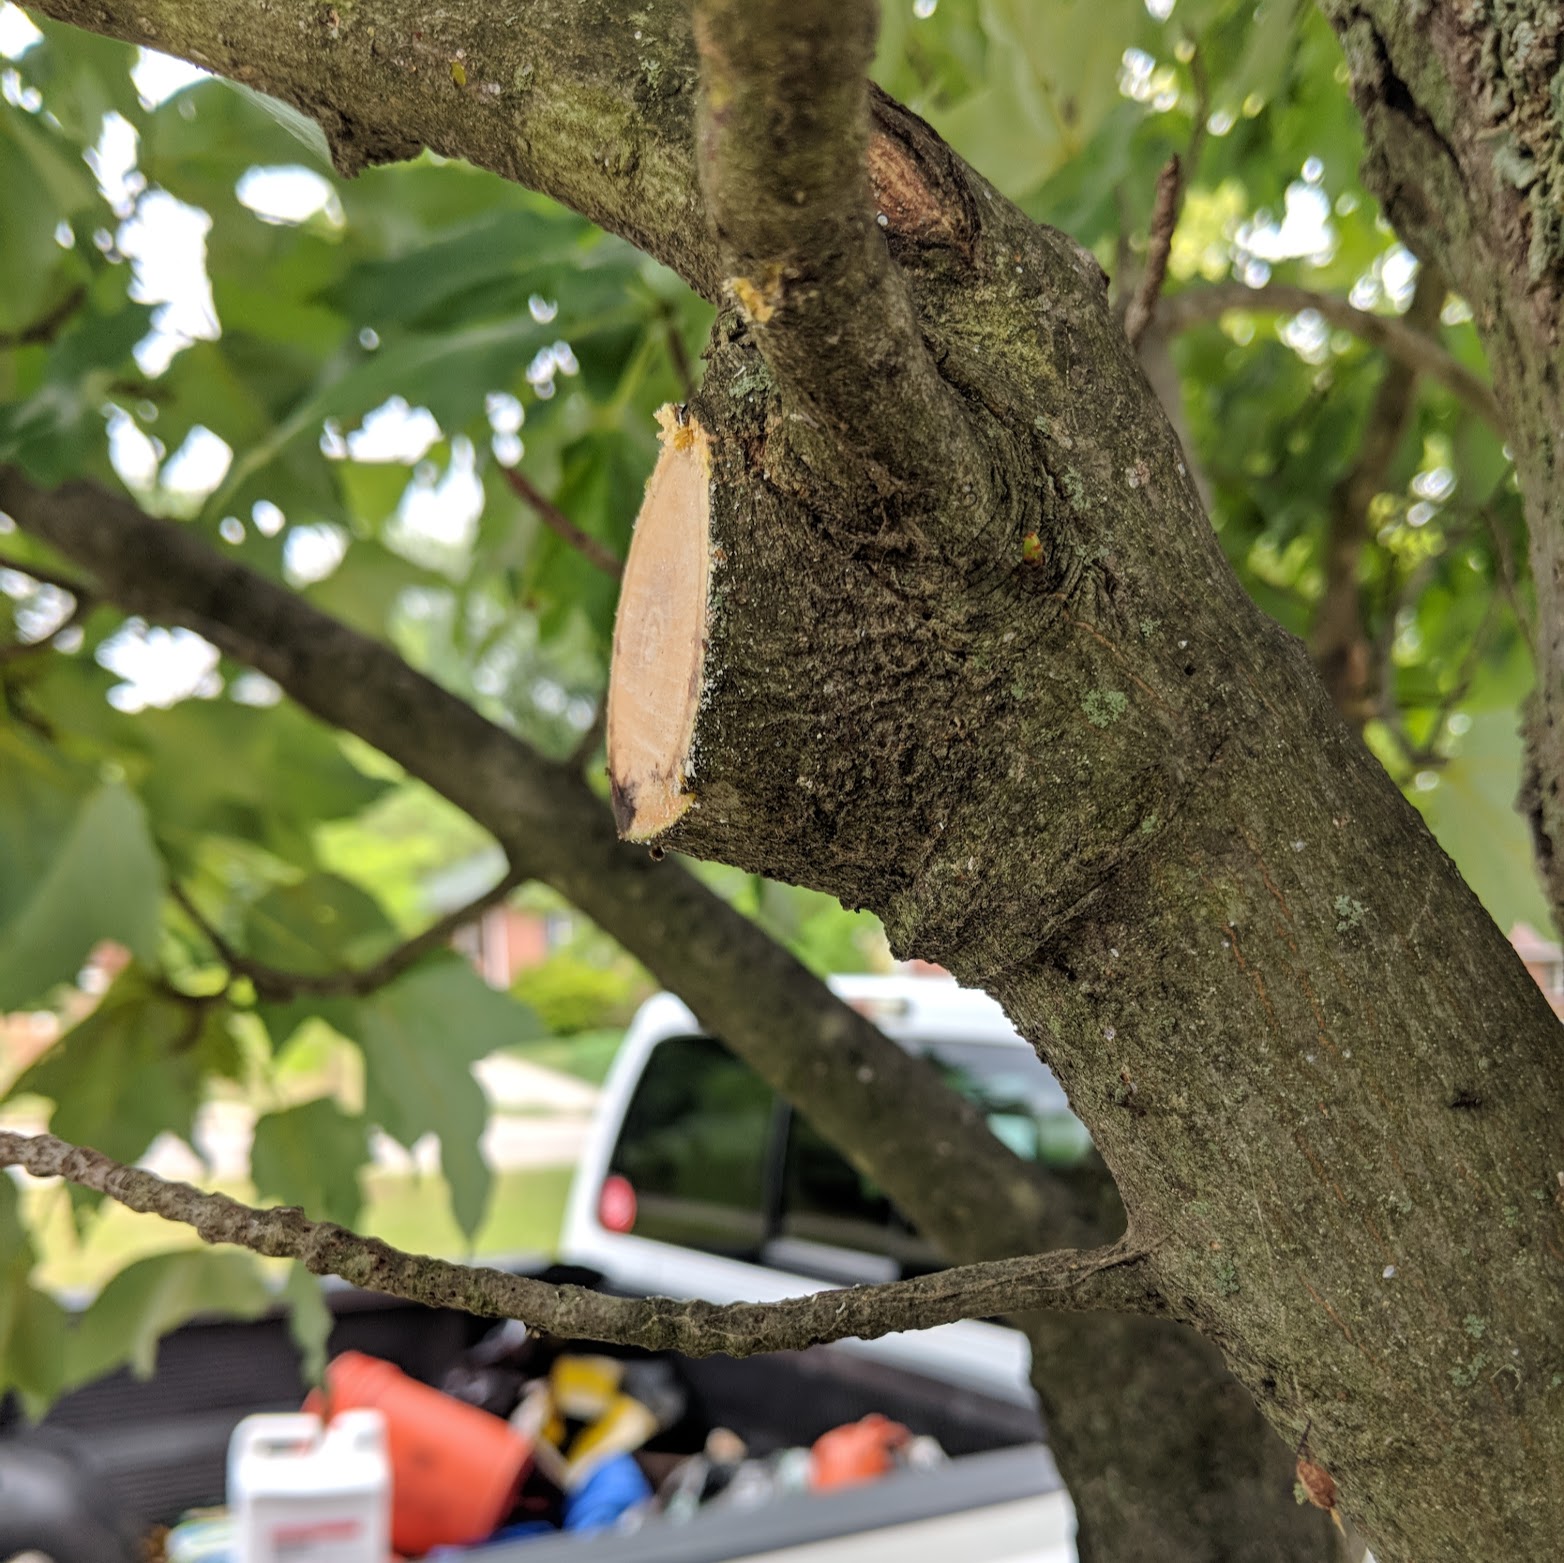
Last, remove the remaining nub by fully cutting the branch near the crotch. Removing the majority of the tree branch before this step eliminates the possibility of damaging the tree bark when making this cut. Make sure you cut perpendicular to the branch and leave the smallest open wound possible. The tree will recover quicker and be less susceptible to pests.
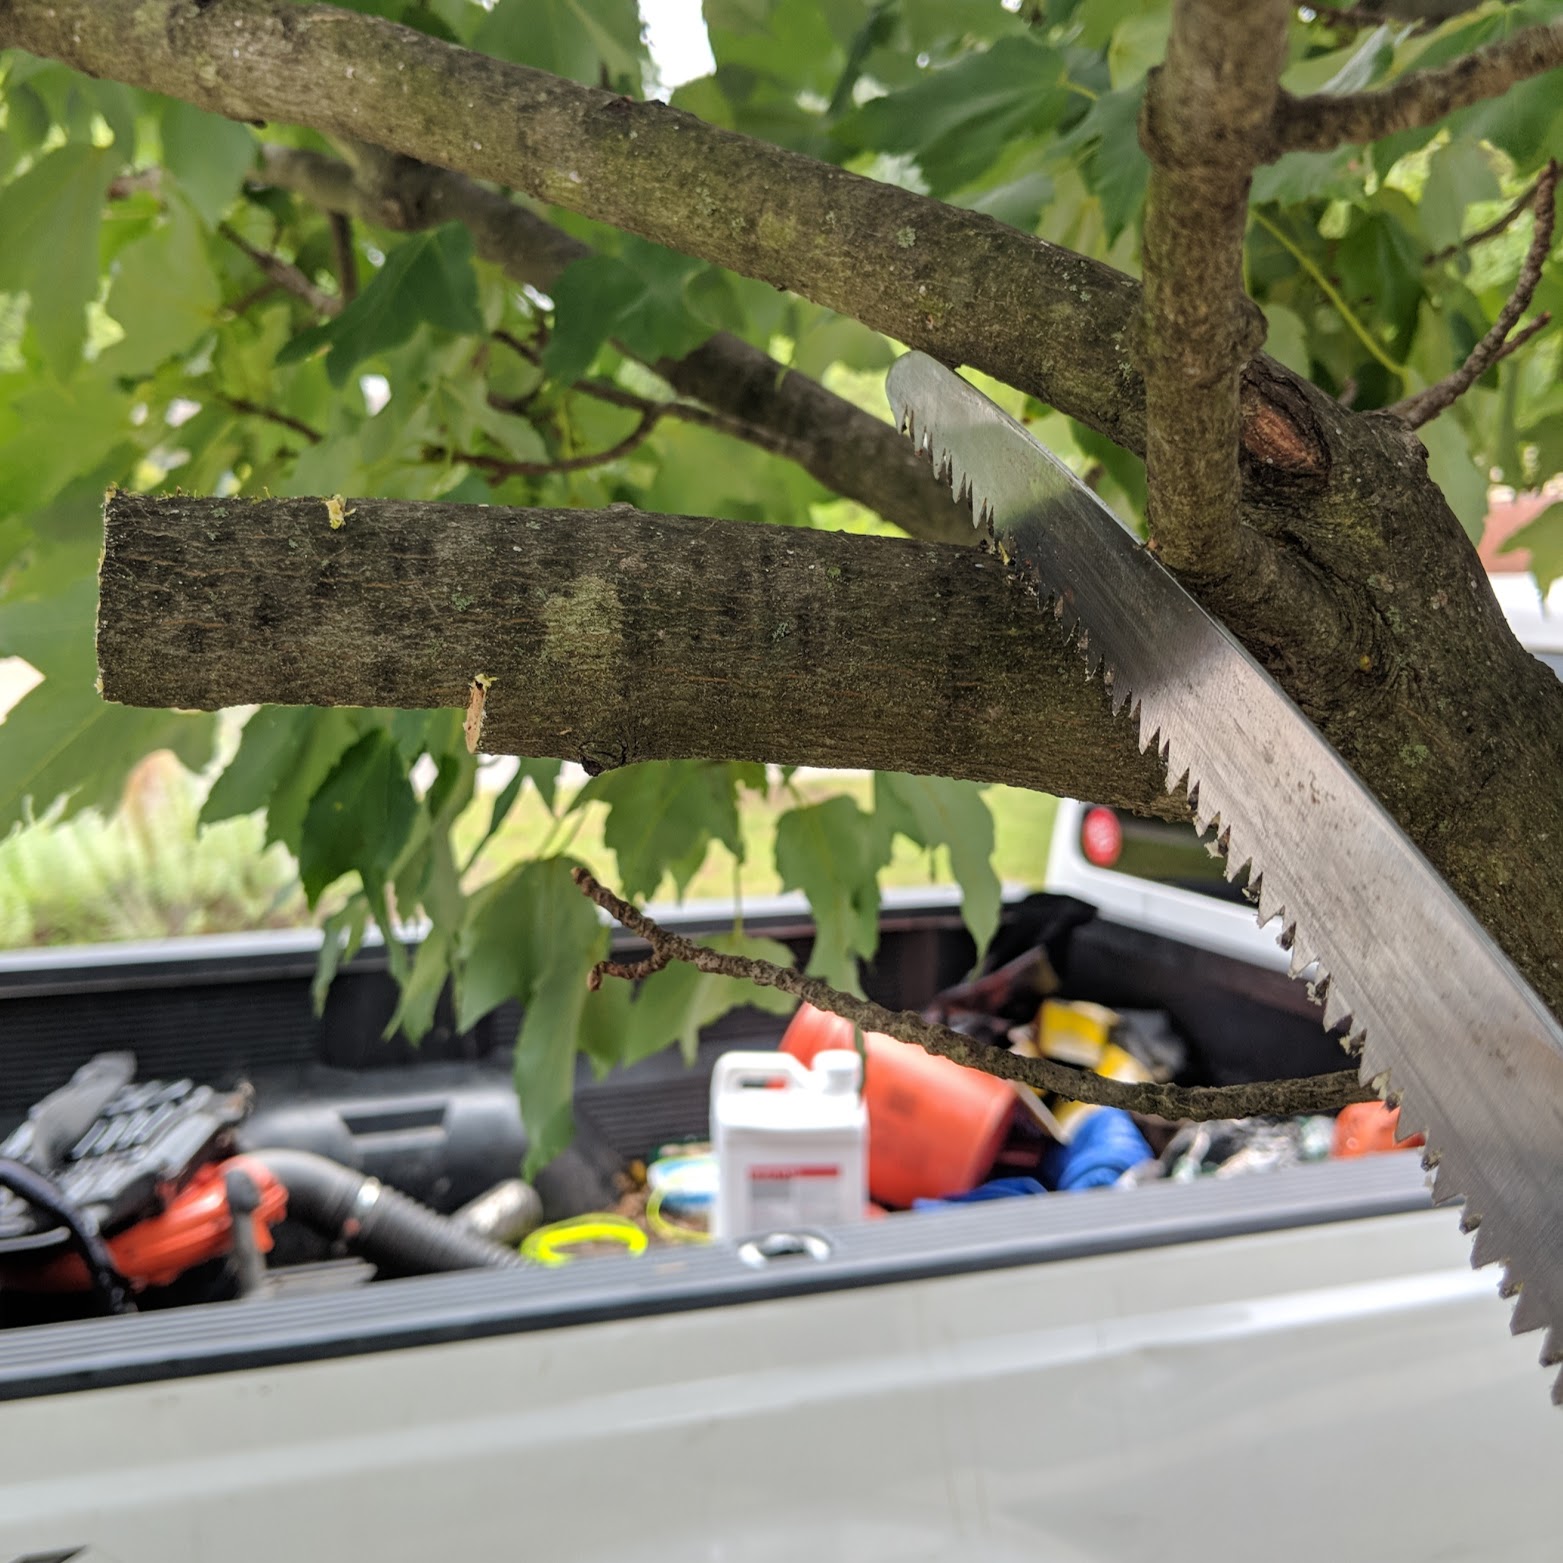
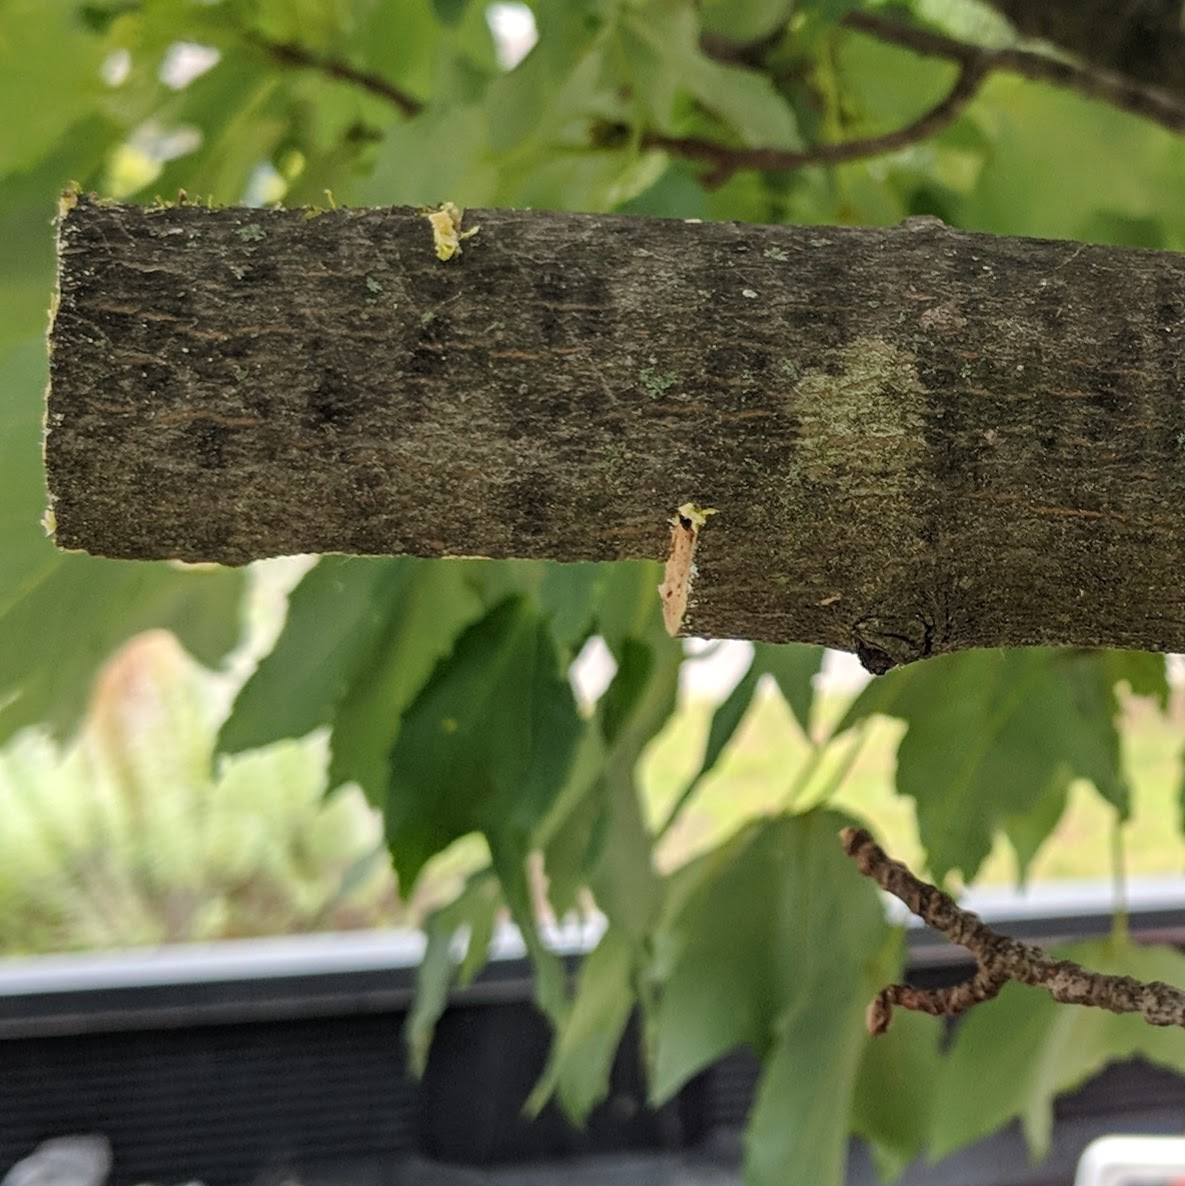
Below, notice the notch that was produced when making the 2nd cut. If we did not make an undercut, the bark would have been damaged, making the tree vulnerable. The finished product is a properly pruned limb that will heal properly and quickly.

Recent Comments