Revisiting a Sod Installation – August 2020

This sod installation was completed at the end of August. One month later, the lawn is lush and pristine.
This long time client wanted to revamp their office back yard in Hamilton. They need a functional space for work get togethers as well as screening to soften the buildings and fences next to them. 

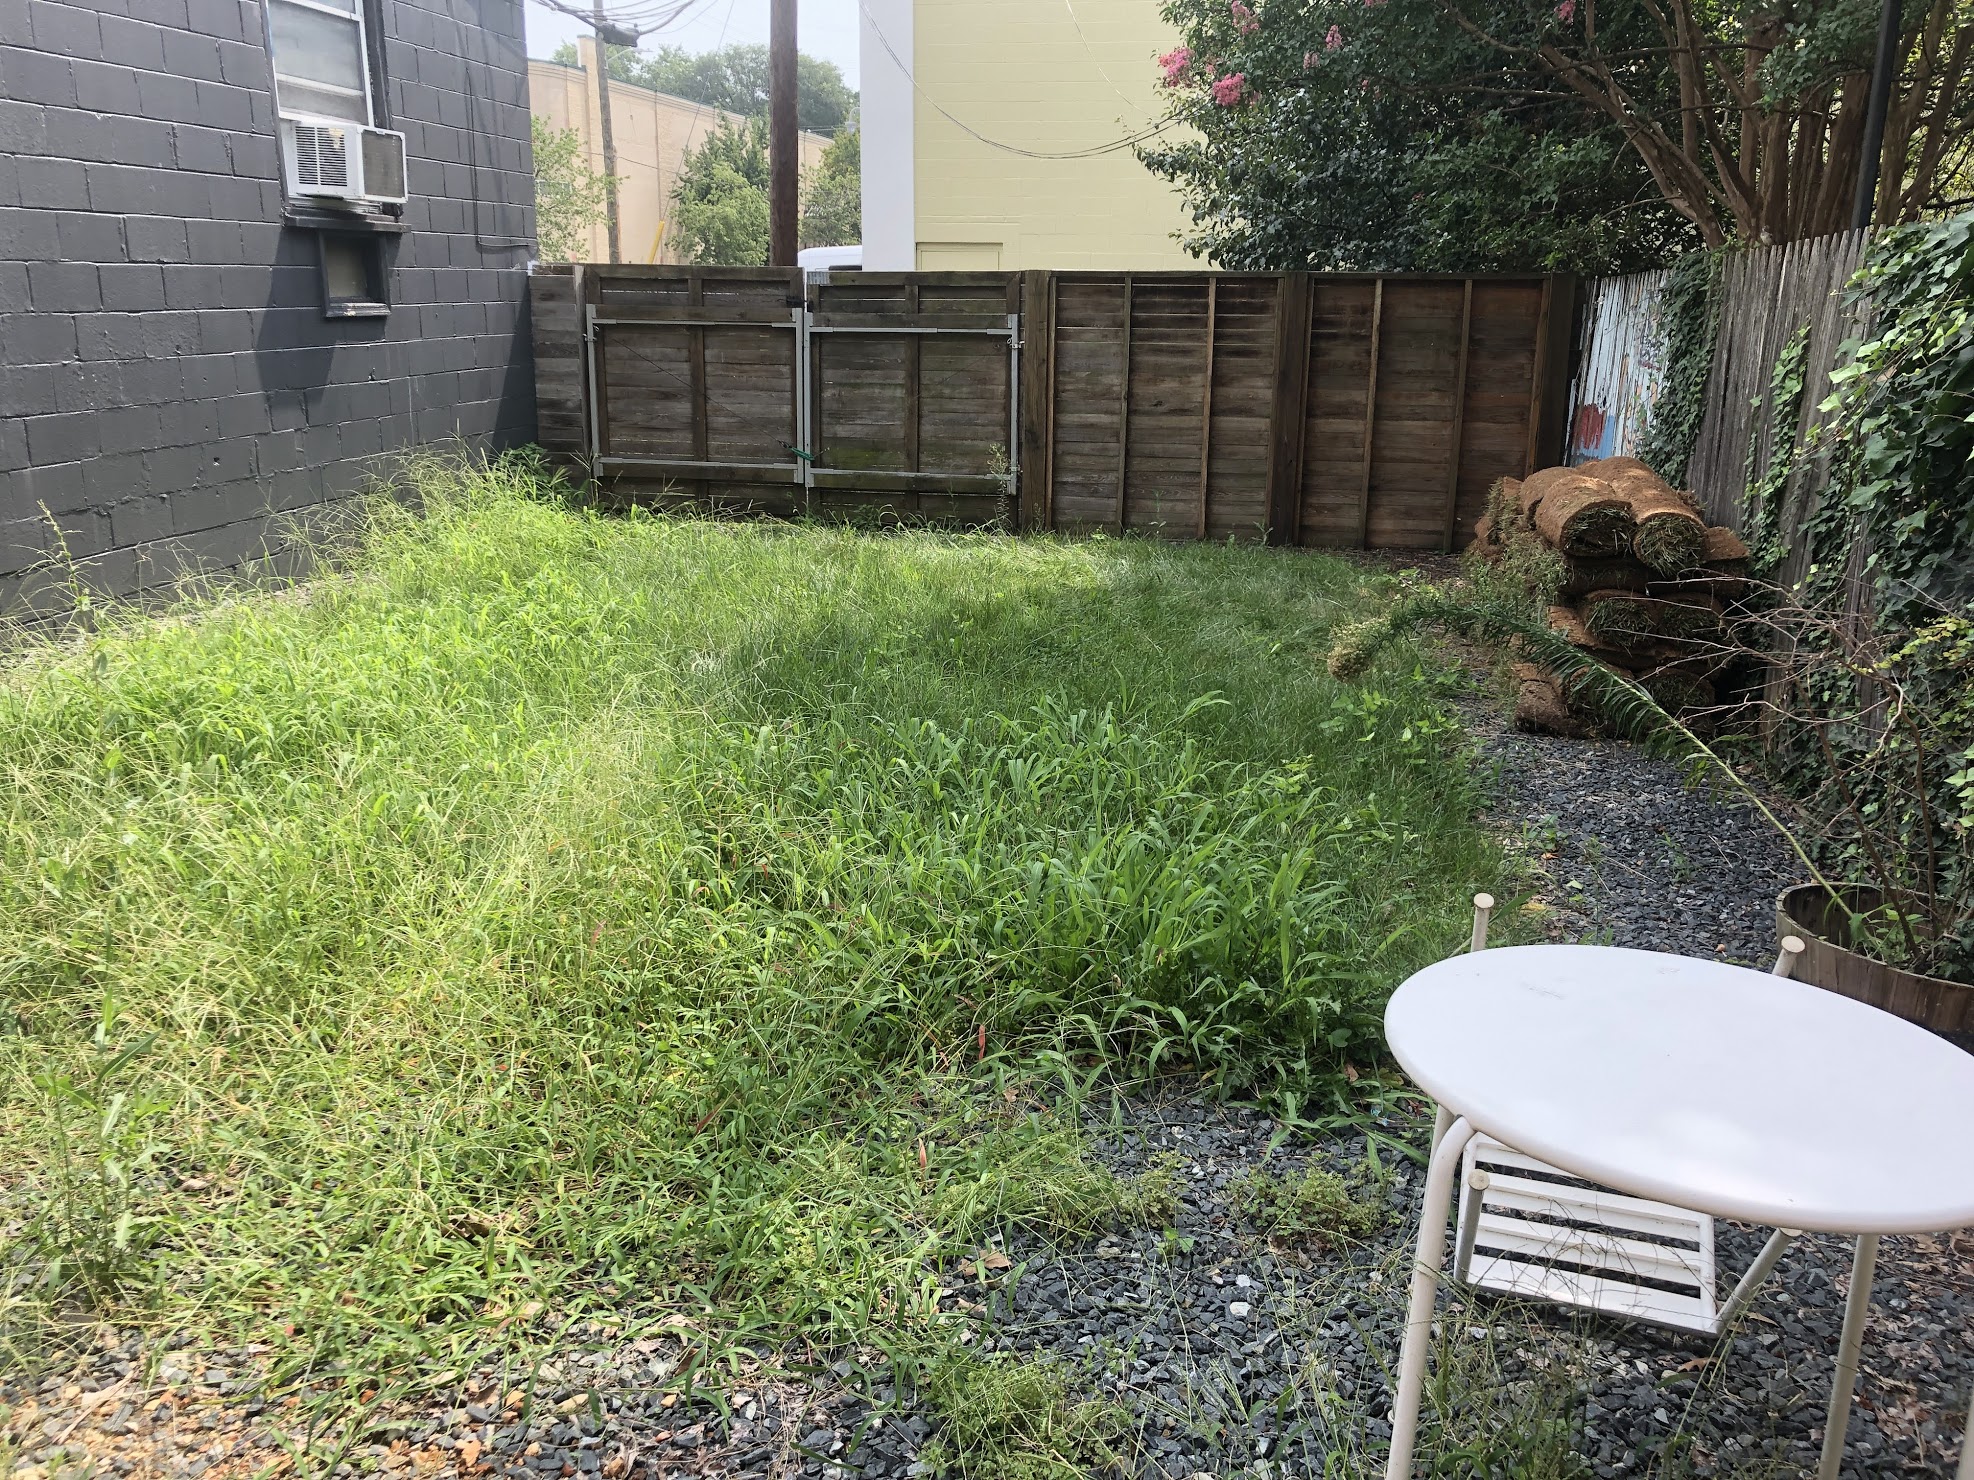
Before we started the lawn was weedy, patchy, and inconsistent. A raggedy gravel border that framed the existing “lawn”.

First, we remove the existing lawn and gravel.

We used a weed eater to carefully cut all of the vegetation to the ground. We had to be extra careful when using the weed eater because it is easy to pick up and throw the gravel. 

Fortunately, our team knows what we are doing, and no windows were broken in the process!

After removing the lawn we started to prep and till the area. This is when we hit our first road bump…

Apparently, there were a lot of rocks, concrete, and gravel mixed in the existing soil. We tried running the tiller, but we kept hitting large obstacles. 

Completing the job the right way is important to us. So we had to recommend bringing in more topsoil. 

We brought in approximately 2″ of high quality topsoil to provide a better growing medium for the sod. 

Before laying the sod, we also planted 10 nandinas to screen the neighboring building and fence. Again, we had to break through an old slab of concrete. 

Then things take another turn for the worse…
We lay the sod, mulch the flower beds, and set up a sprinkler on a timer system. The only issue is that the sprinkler was NOT turned on!

After the weekend, I went back to check on the job and I open the gate to this…

Nearly 70% of the new sod dried up over the hot weekend. This is why we insist that we set up a sprinkler for customers. Watering new sod is CRITICAL for success. 

Unfortunately, we had to eat this mistake and make it right. 

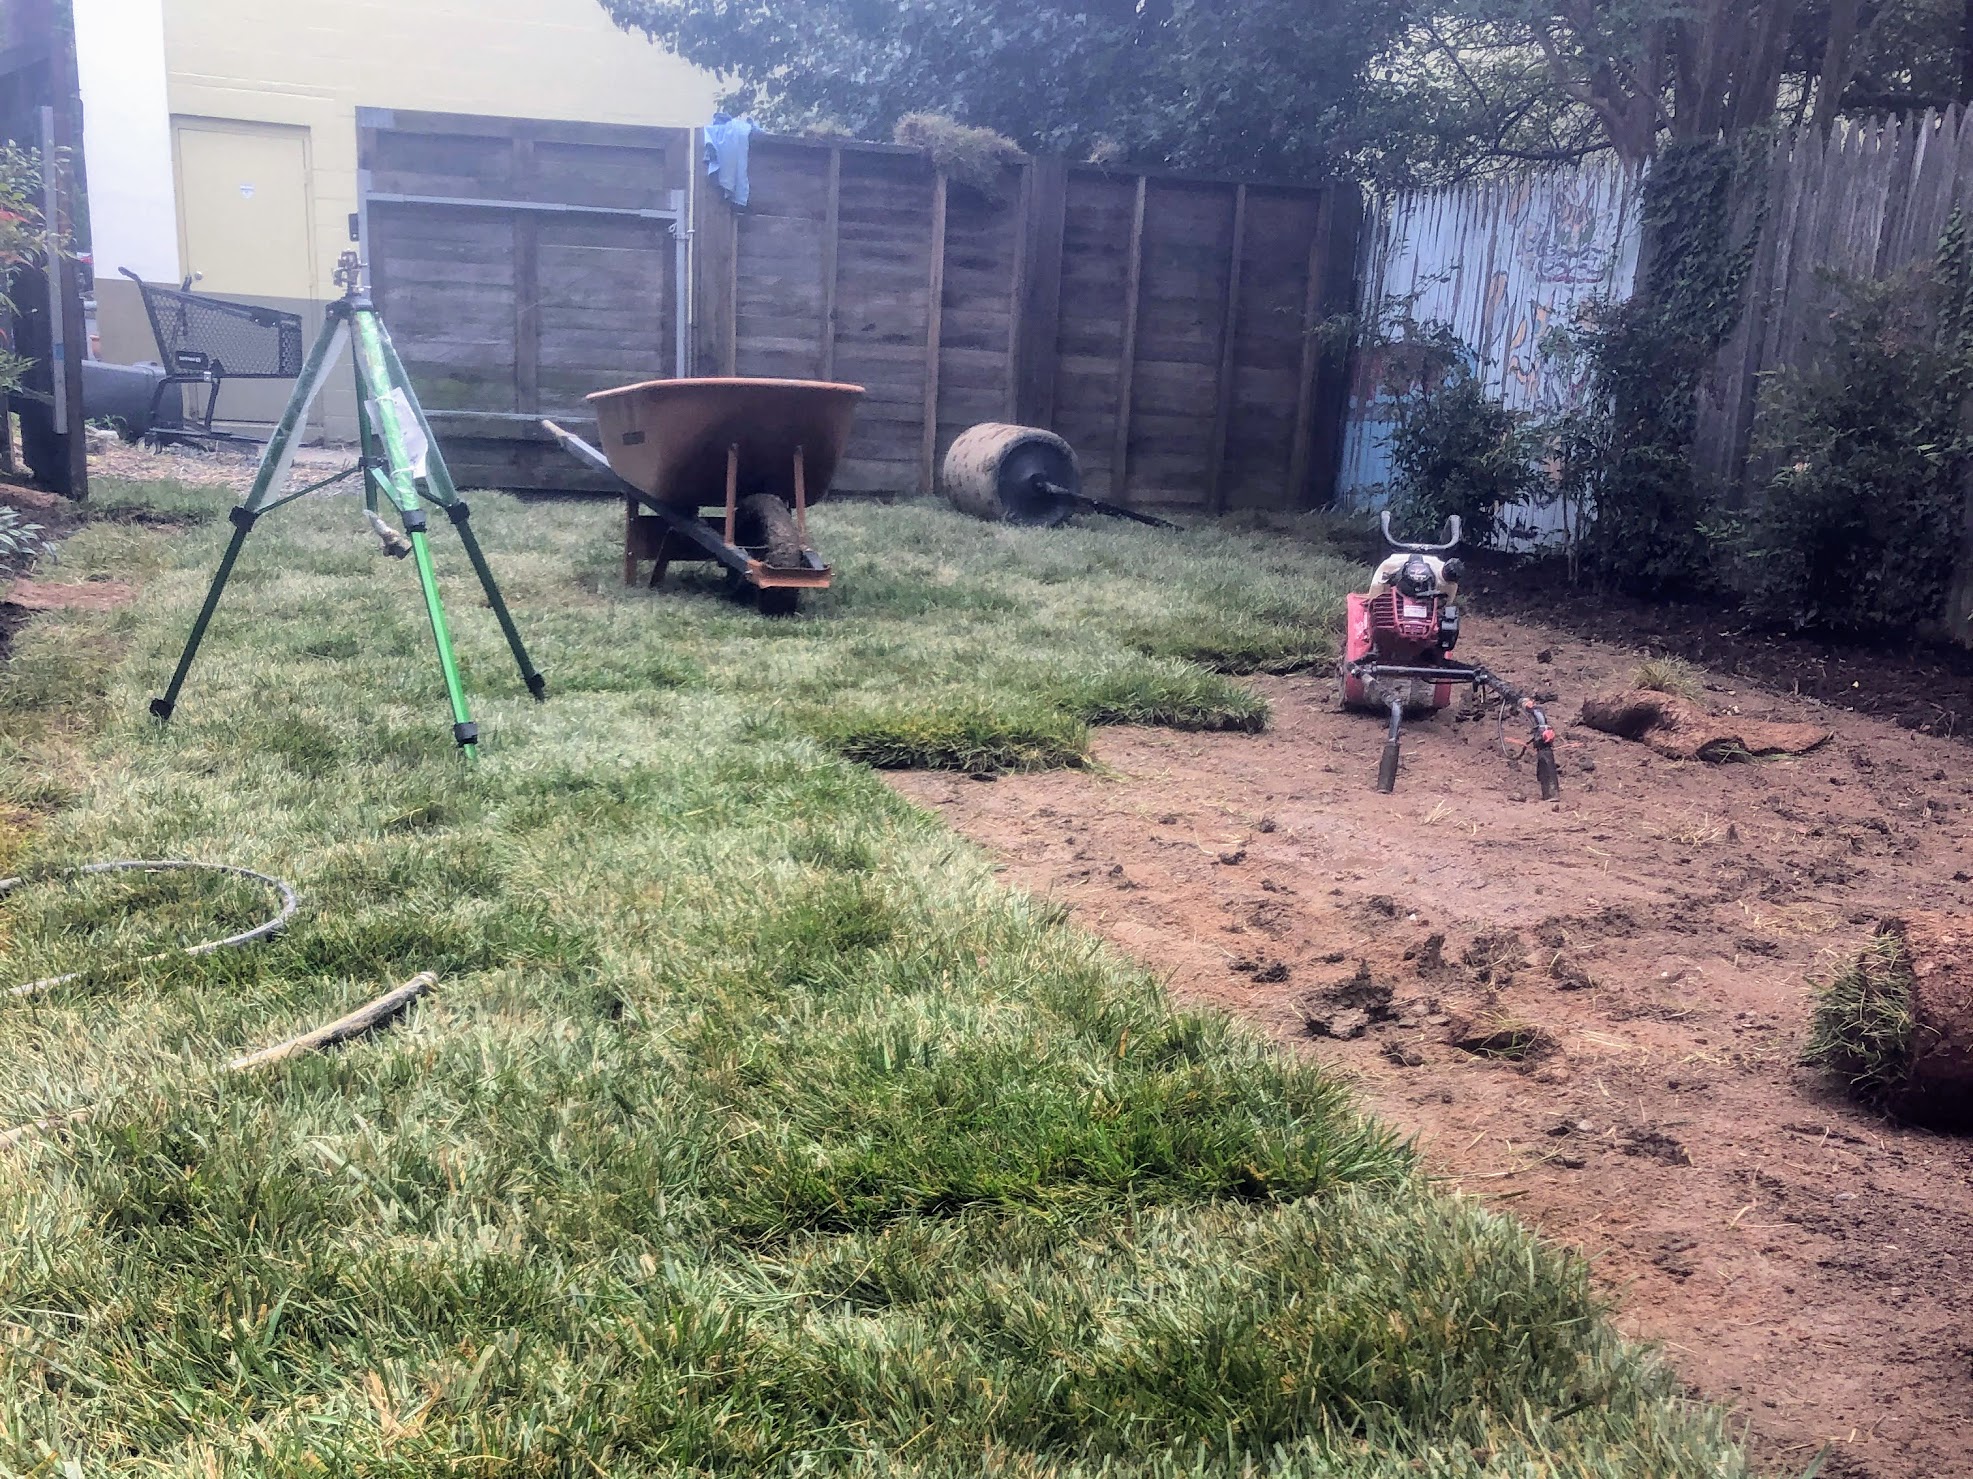
So we ordered more sod and returned the next day. The dead sod had to be removed and replaced with brand new rolls. 

Replacing the the sod took a lot of extra time and ate up almost all of our profit, but we had to finish the job the right way. 

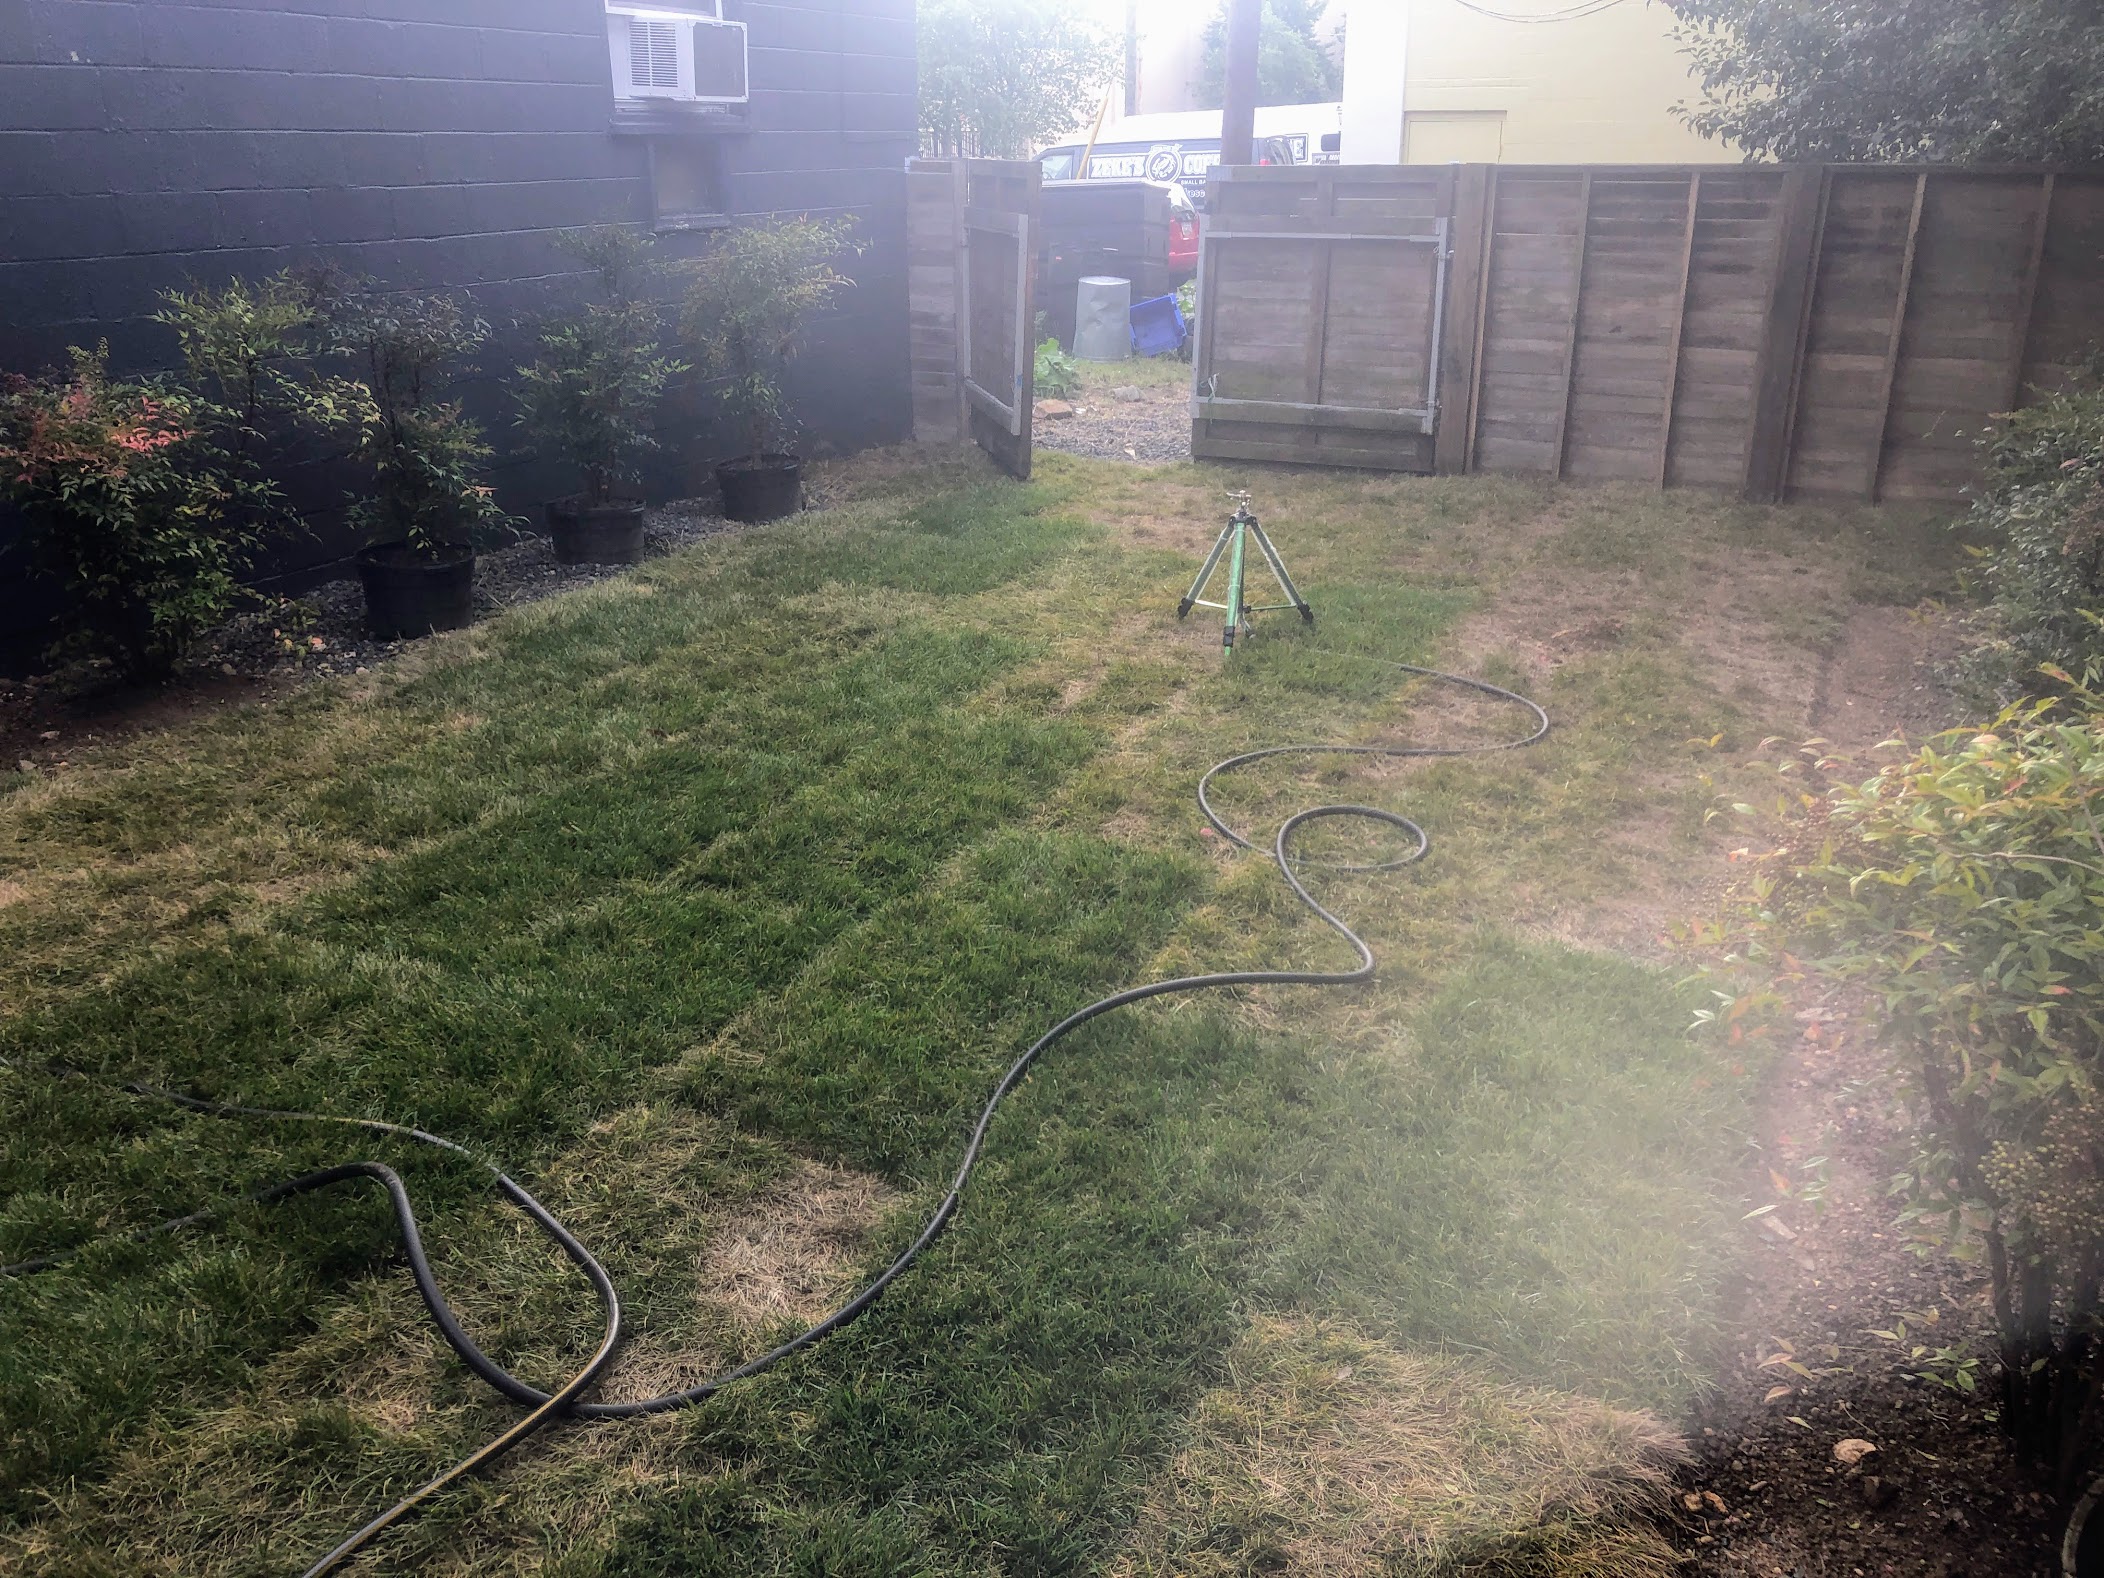
This time around, we double and triple checked that the sprinkler was functioning. The timer was set to water 2 times per day. After about 2 weeks we cut the watering frequency in half. 

Two more weeks go by and we are ready to cut the sod for the first time on 6″. Before this point the lawn was almost 8-10″ tall! We reduce the watering frequency again. 

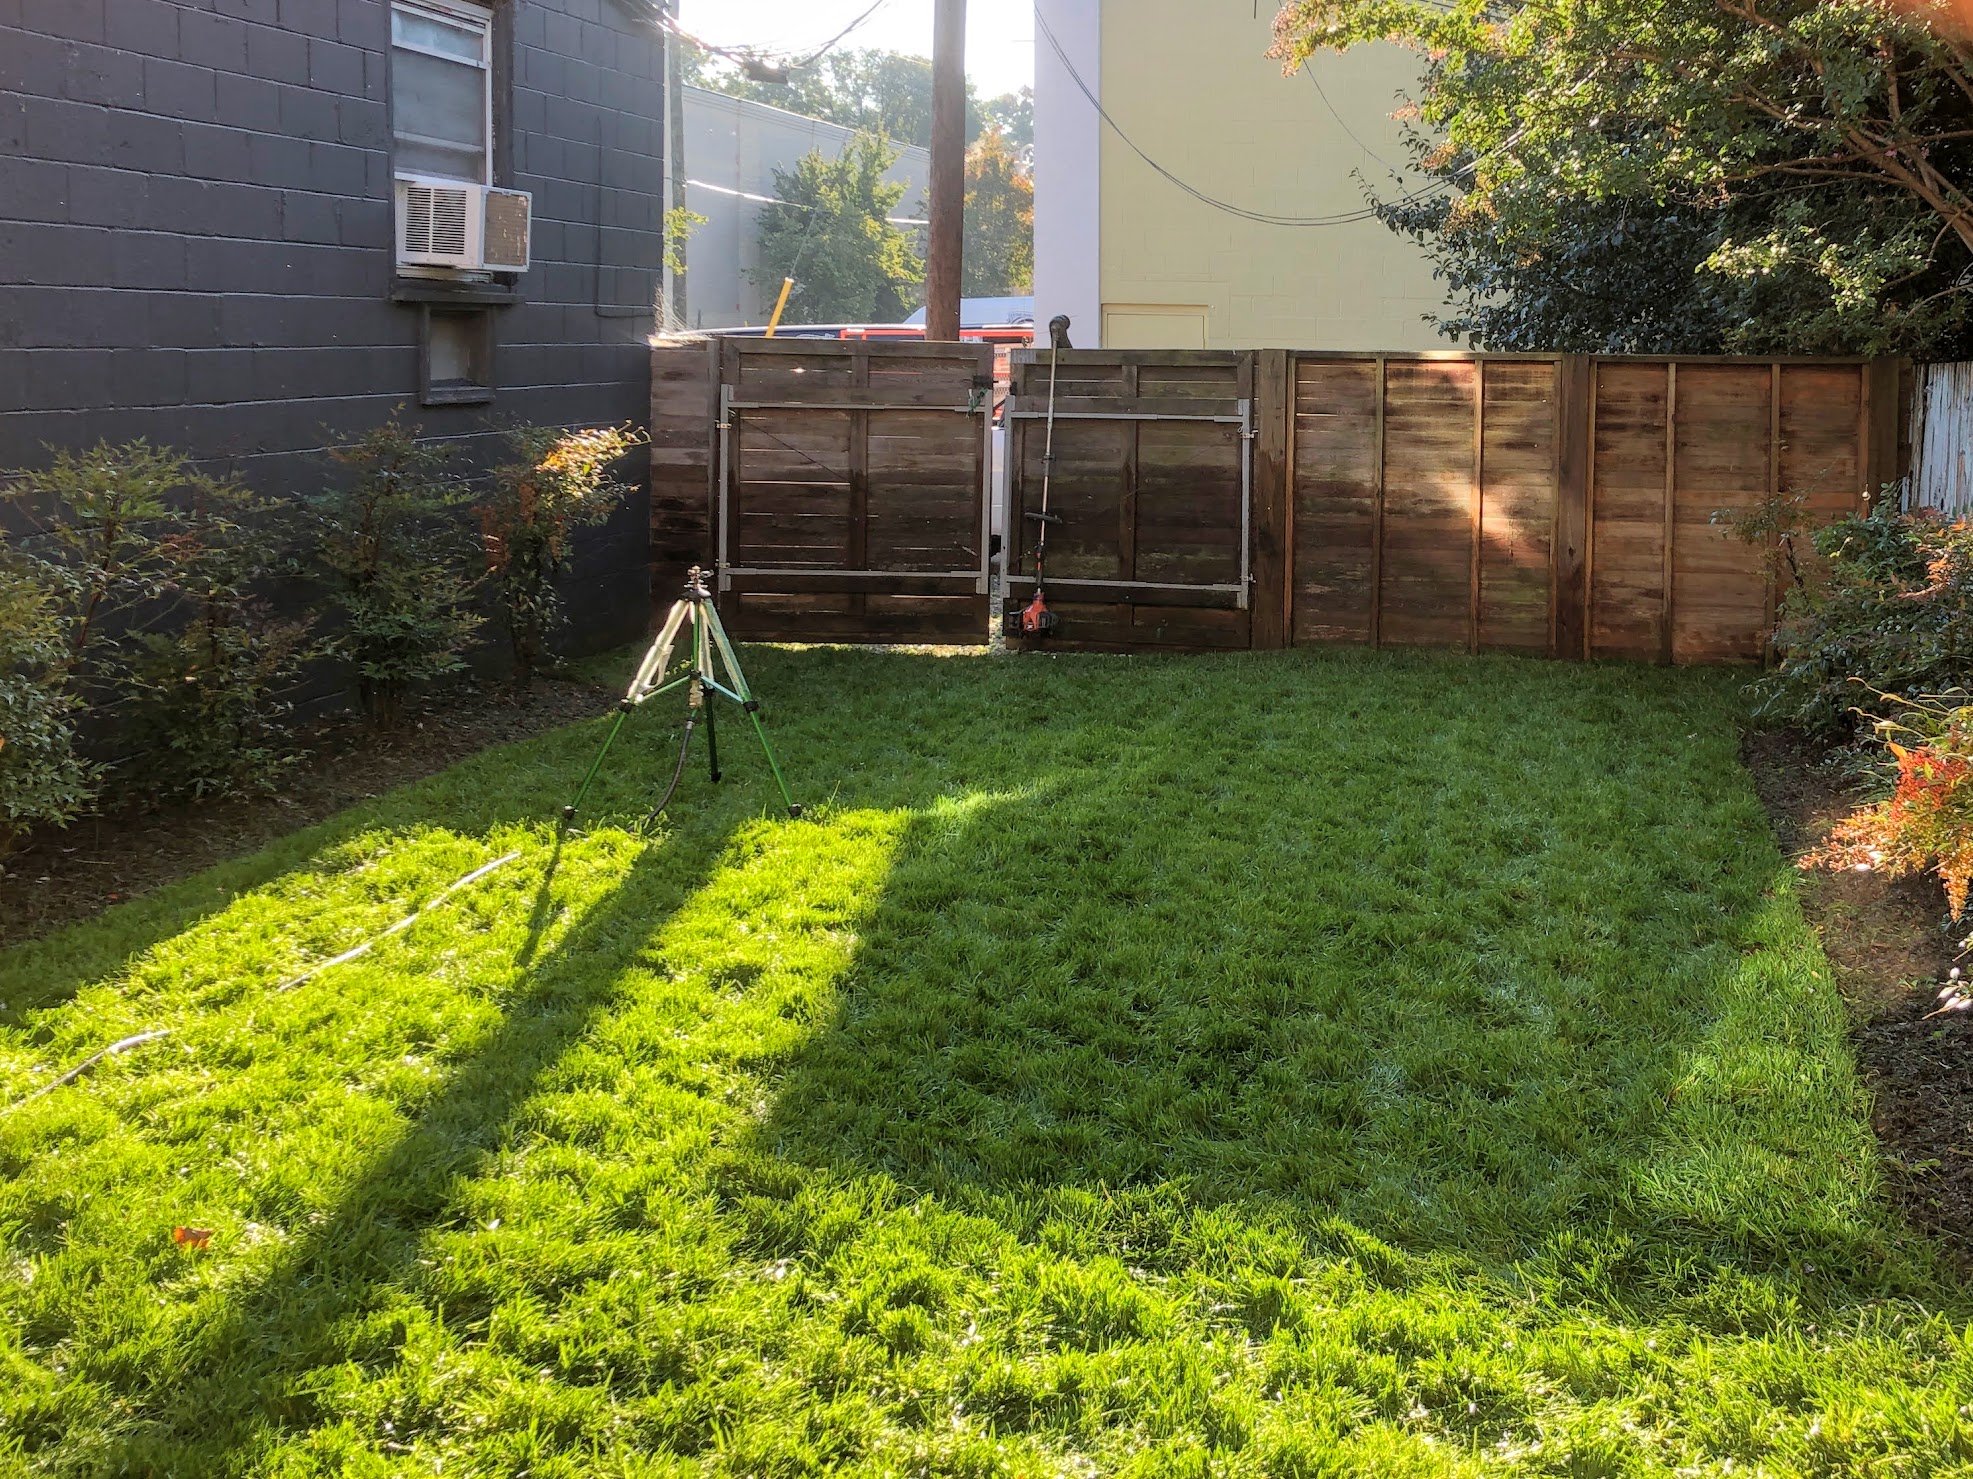
After another week passes, we cut the lawn again, taking the height down to 4″. We also reduce watering to 2 times per week. This is the final product about 5 weeks after the second install.

We couldn’t be more pleased with the way everything has grown in! After one more week of mowing, we are going to pass the responsibility off to our client. 

We are also going to stop irrigation. Notice how we “weened” the lawn off of water. This process is usually overlooked. When the irrigation is not slowly phased out, the fresh sod can take a hard hit, especially in the summer.

Ready to get rid of your existing lawn and upgrade to beautiful sod? Leave your info and we will follow up with you. Also, take the time to see what other projects we’ve been up to!

Stoneleigh Landscaping Job June 2019

  In June 2019, we were contacted by a Stoneleigh resident to complete some landscaping tasks. The landscaping job included the following items: Pruning forsythia bushes Weeding and cleaning flower beds Cutting fresh flower bed edges Delivering, planting and...

Parkville Planting Project October 2020

The first week of October 2020, we completed a nice landscape tear out and planting job in Parkville. This was our first time working with this client and hopefully not the last! Autumn is a terrific time for planting. The weather is typically very mild and plants...

Revisiting a Sod Installation – August 2020

This sod installation was completed at the end of August. One month later, the lawn is lush and pristine.This long time client wanted to revamp their office back yard in Hamilton. They need a functional space for work get togethers as well as screening to soften the...

Building with Timbers – October 2020

This month we had several jobs that involved building with timbers. Timbers are a good material for building small retaining walls because they are sturdy and affordable. Let us share how our process sets us apart from our competition. Just like any type of building,...

Simple Formula for Beautiful Window Boxes and Planters

Container gardening is a fun way to express your style with plants. There is an easy 3-part formula to ensure your window boxes and flower pots look fantastic every time.  Thrill, fill, and spill is the secret to beautiful flower containers. If you follow those three...

Fall Planter and Window Box DIY

Fall is a beautiful time of year, but it means that winter is just around the corner. Here are some ideas for beautiful Fall and Winter plantings! This post is geared towards flower pot and window box design. We are going to follow our foolproof 3-part...

Patio Build in Hampden – Dec. 2020

This paver patio build was a great project. Initially we had a few challenges. First, the back yard is small so we had to use our space efficiently. Second, there are two different concrete pads at different heights. We. had to devise a plan to incorporate a step so...

Rain Garden Installation – Timonium, MD

Green Thumb Yard Care works with Patricia Ceglia to install a rain garden in Timonium, MD Late October, Green Thumb Yard Care installed a rain garden in Timonium, MD. This project was very fun and rewarding for multiple reasons. First, the final product functions and...