Building with Timbers – October 2020
This month we had several jobs that involved building with timbers. Timbers are a good material for building small retaining walls because they are sturdy and affordable. Let us share how our process sets us apart from our competition.
Just like any type of building, building with timbers starts with a sturdy foundation.
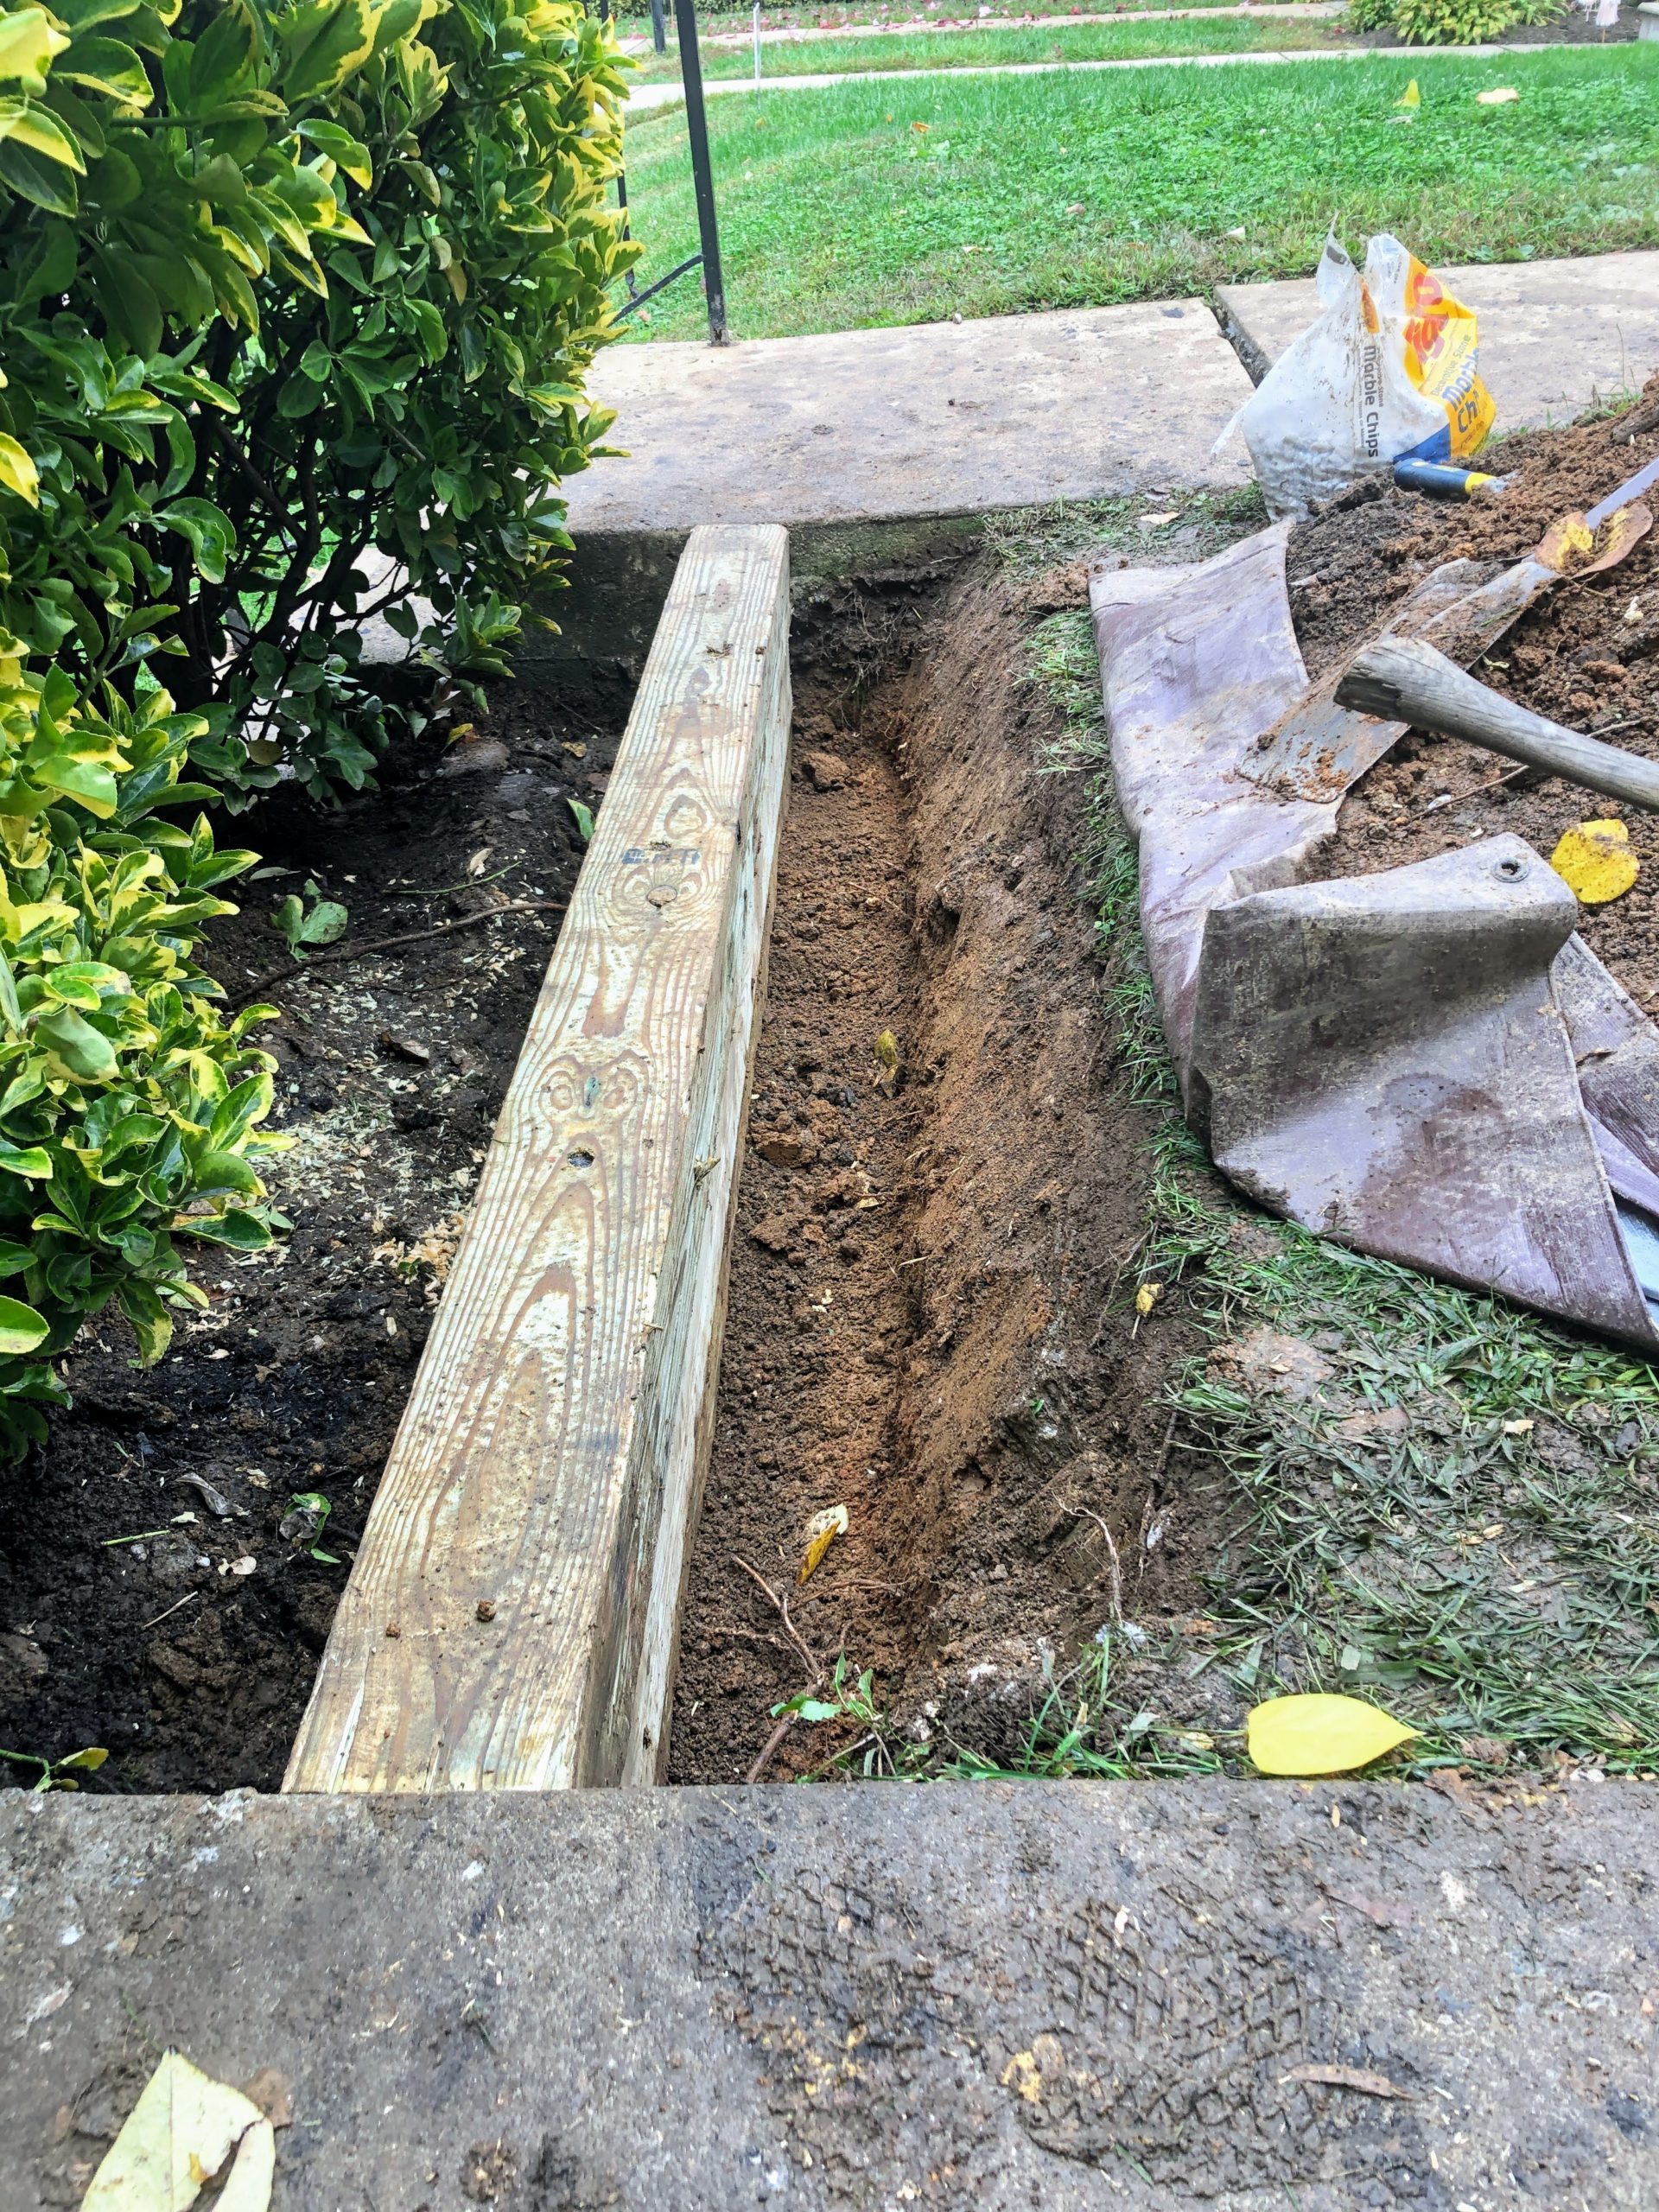
At the beginning of our project, we lay out the timbers as a foot print. Then we know where to form our foundation or “base”. We move the timbers and we start digging a trench about 12 inches wide.
Depending on the application we will dig a trench anywhere from 2 – 8 inches deep. If the structure is going to have other timbers stacked on top of it or if it will be retaining a slope, we choose to dig a deeper base. If we are only laying one course of timbers, then we choose to dig a more shallow base.
Below is an example of a timber resting on our base material. We like to use marble chips or S57 stone as a base. It does not compact, so it allows for water drainage. Additionally, the marble chips are easy to adjust so that we can make sure our timbers are level and do not shift.

Typically, we use 6x6 timbers instead of 4x4. 6x6 are more sturdy and will last longer. It is always best to overbuild.
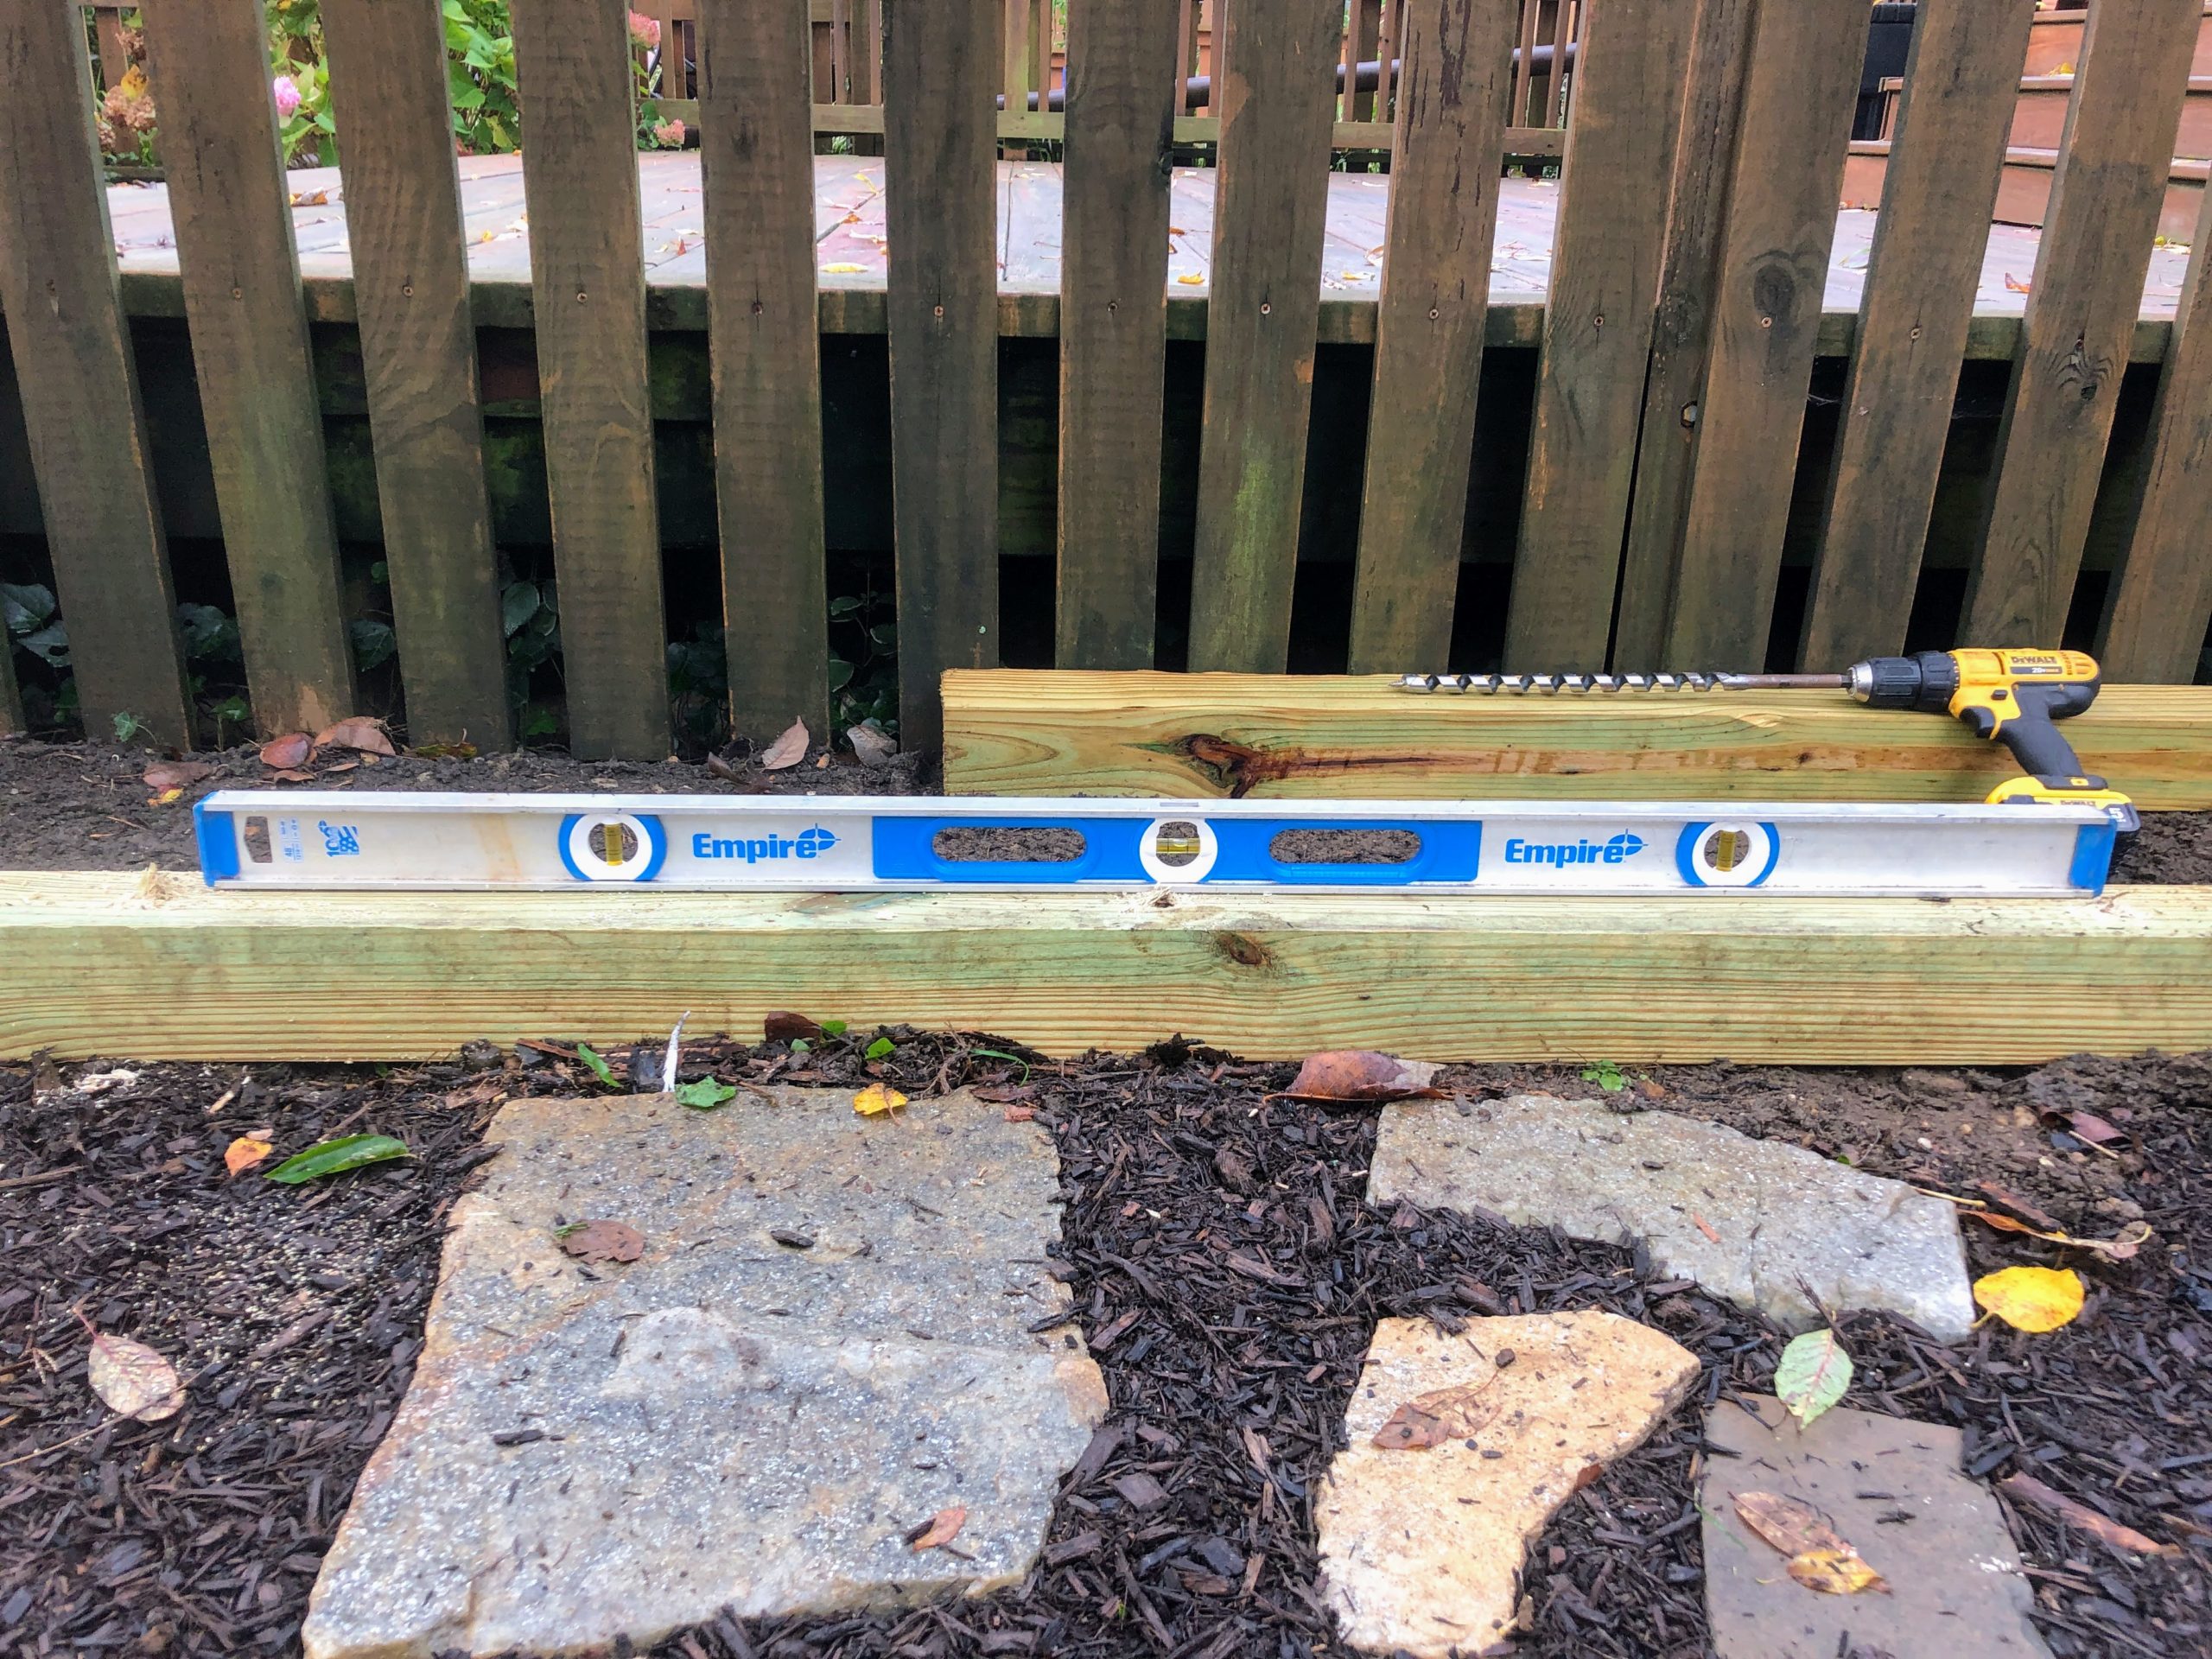
Once we have our base material laid in the trench, it is very important to set the timber on top of the base and check for level. It is absolutely necessary that the first course of timbers is totally level. If not, then our entire structure will be compromised.

After we have double and triple checked for level, we are ready to install the first course of timbers. We use a drill and wood auger bit, like the one shown above, to pre drill holes for our stakes.
Once our holes are drilled, it is time to drive the stakes through the timbers and into the ground. For the first course, I like to use 2 foot stakes or longer. This way the stakes are at least 1 1/2 feet in the ground.
Building a gravel base sets us apart from our competitors who may just lay the timbers on soil that can shift and settle after years. We also diverge from the competition when we backfill. Backfilling is the process of adding material behind a retaining wall. The reason most retaining walls bow outward and eventually fail is because they were not back filled properly.
Not only do we excavate for our base, we also excavate about 18″ behind our wall and back fill with our same base material, S57 stone. Using gravel for backfill releases hydraulic pressure that can build behind the wall and ensures a longer useful life for the structure.

Before we add our gravel backfill it is critical that we lay our a permeable filter fabric. The filter fabric will keep the soil separate from the gravel backfill. If the two mediums mix and combine, then the gravel back fill loses its drainage capability.
You can see the gravel backfill and filter fabric below.

When backfilling behind our walls, we leave about 2 inches of empty space at the surface. That way, we can cover our backfill and fabric with soil. The soil allows grass or other plant material to grow right up to that wall.
Admittedly, our walls are over built. But isn’t that a good thing? A raised flower bed, or firewood pad, or retaining wall isn’t a project you want to revisit 3 years after the initial install. That’s why we make sure that our work will be around for the long haul. Our process isn’t the easiest and its not the cheapest, but it is quality.

